Click on your project to open it, and on the upper righthand side, select “Data Entry.” The second option, “Project Settings,” is where the data model can be changed.

When you’re in “Data Entry” mode, you’ll find a drop down with all of the data models that are in your project.
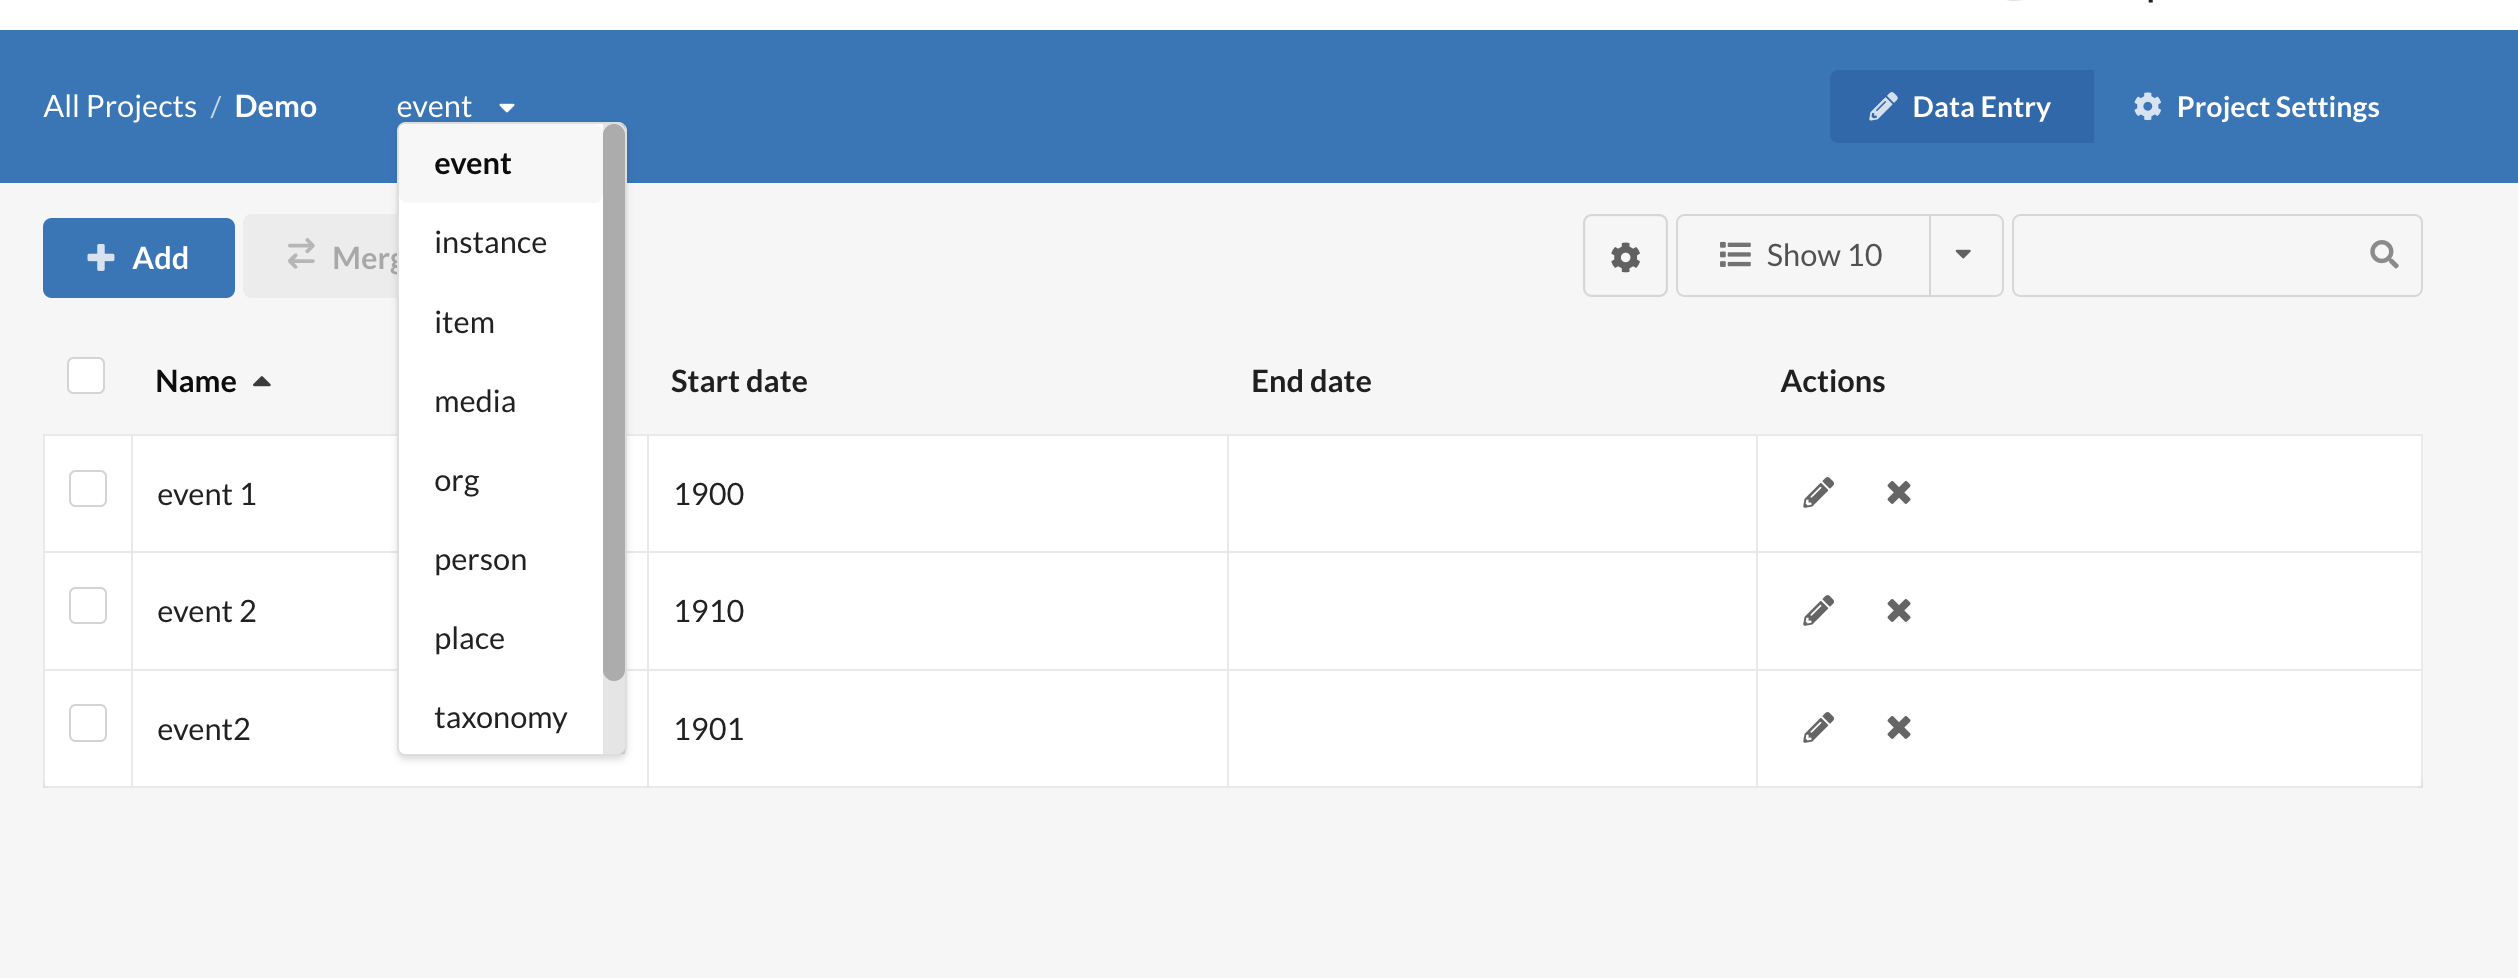
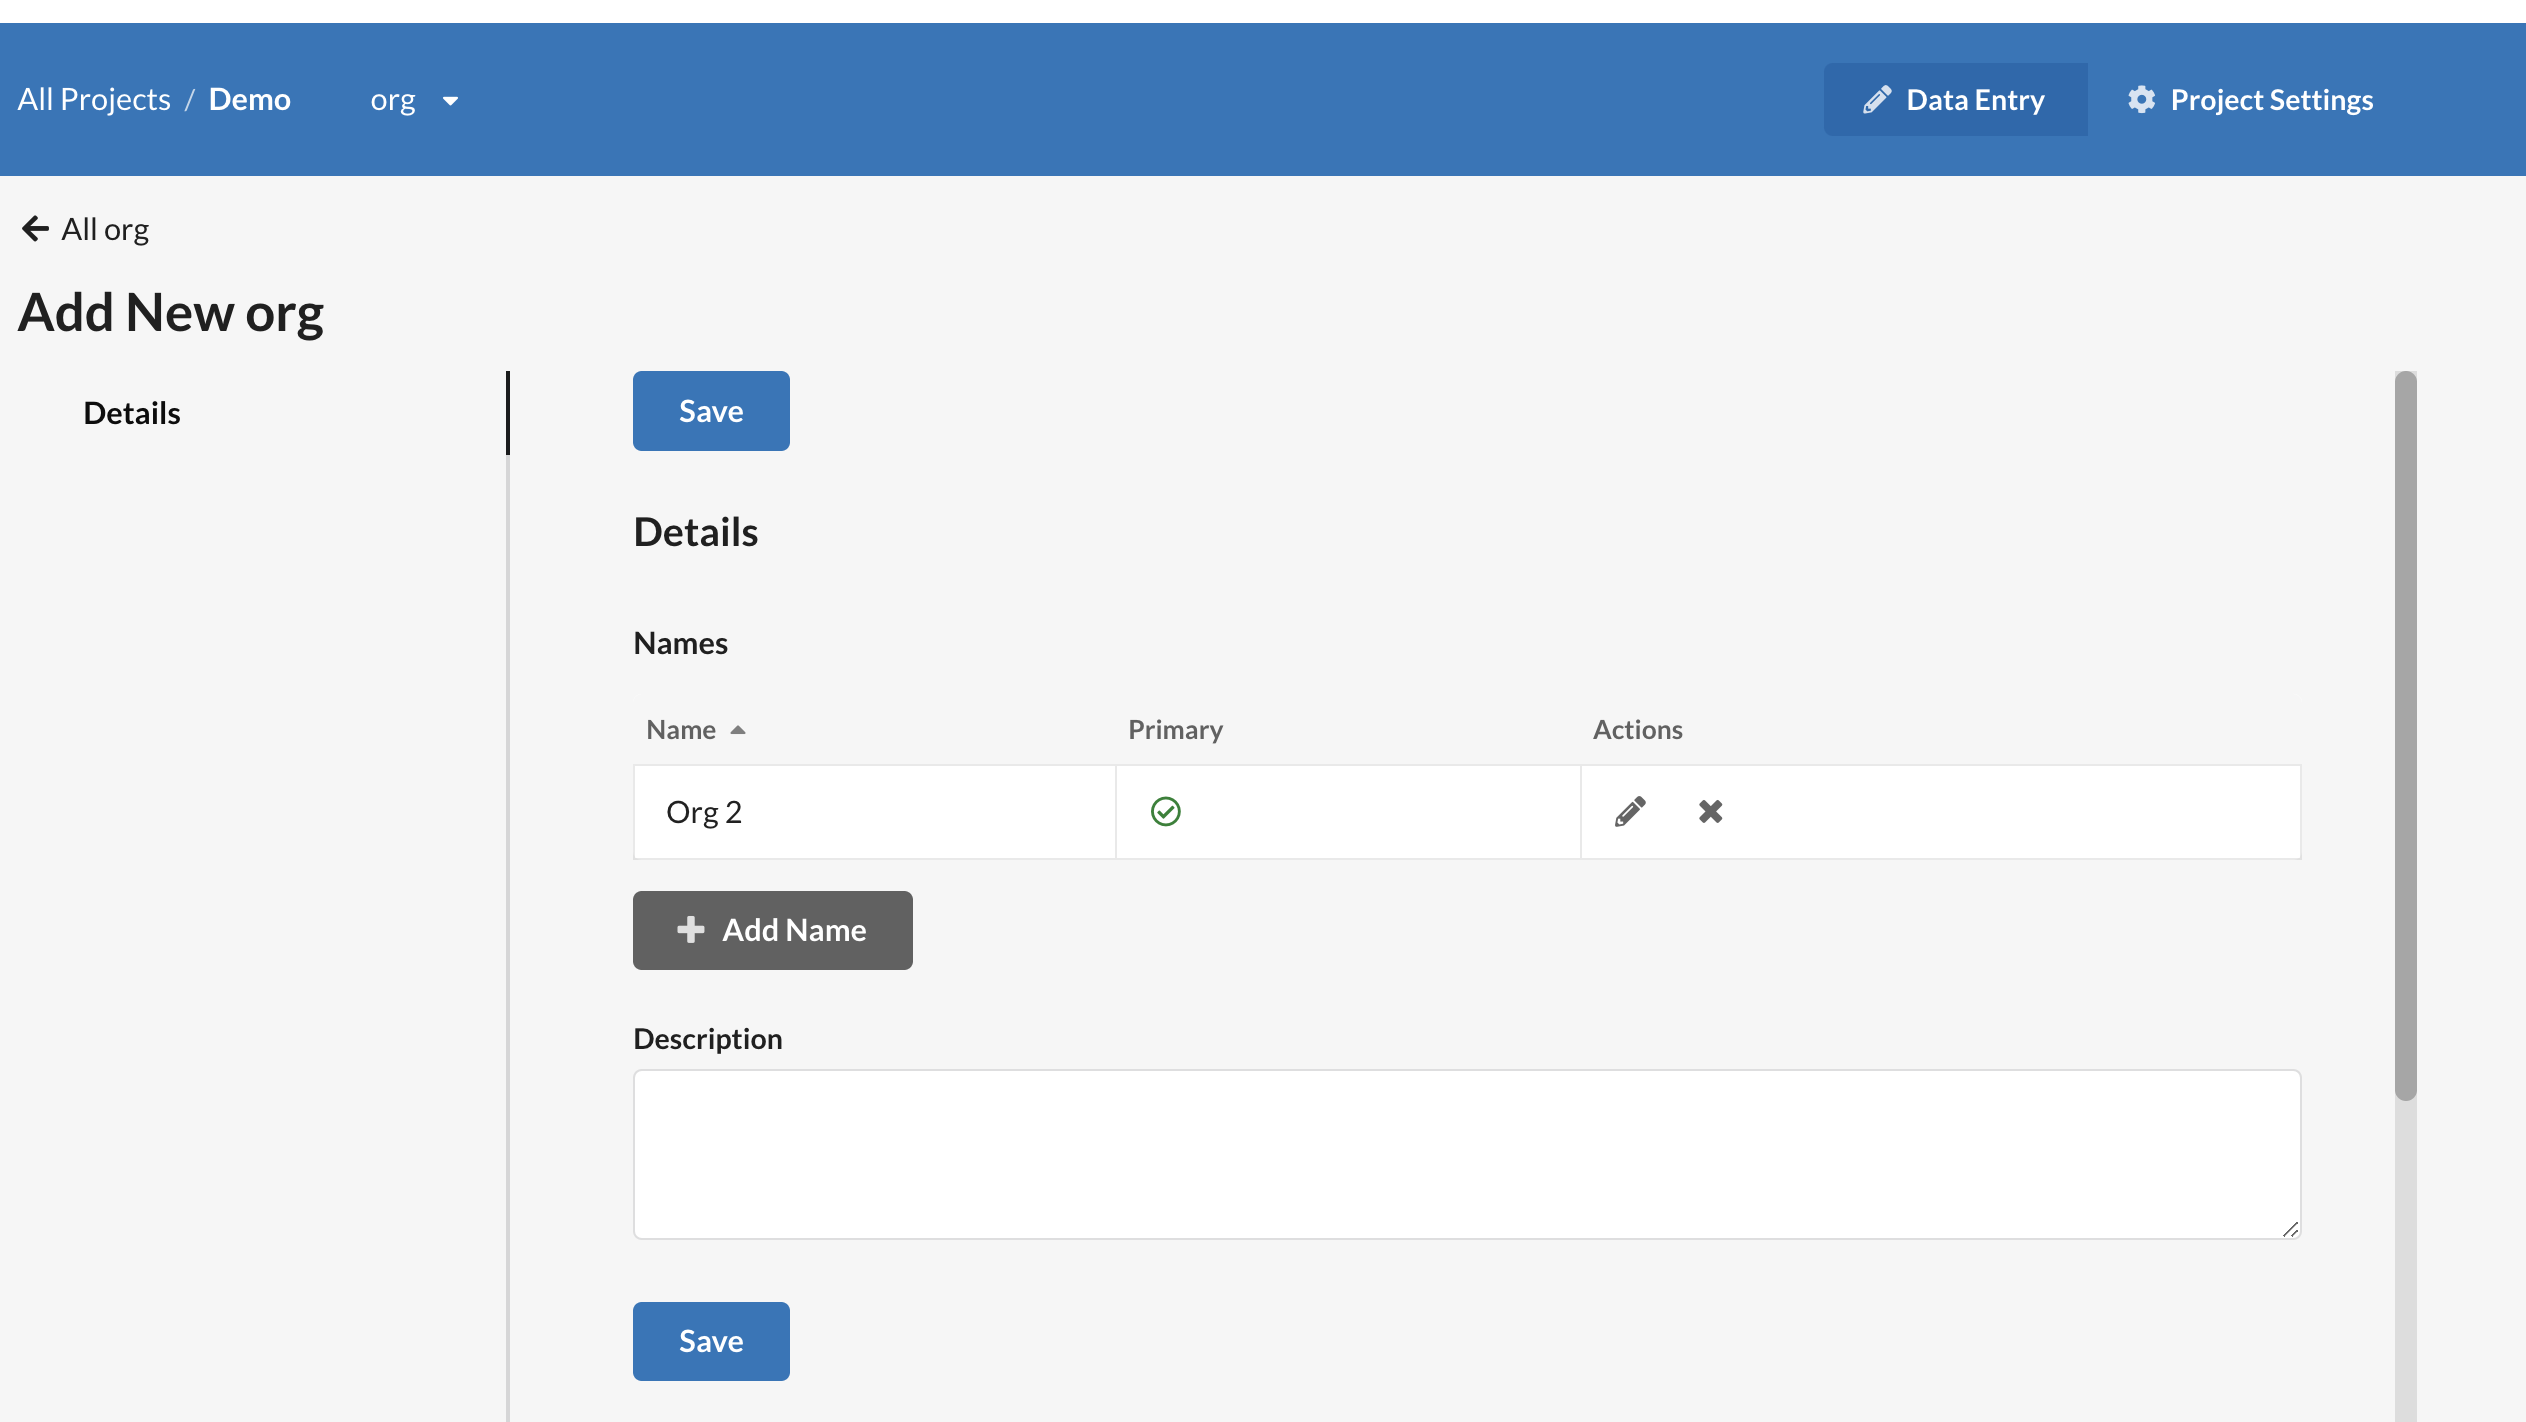
Select the model that matches the data you’d like to enter. Usually a project will have a “primary” model where you’ll do most of your data entry. Other models are related to this primary model. This example starts with an Organization model that already has one entry.
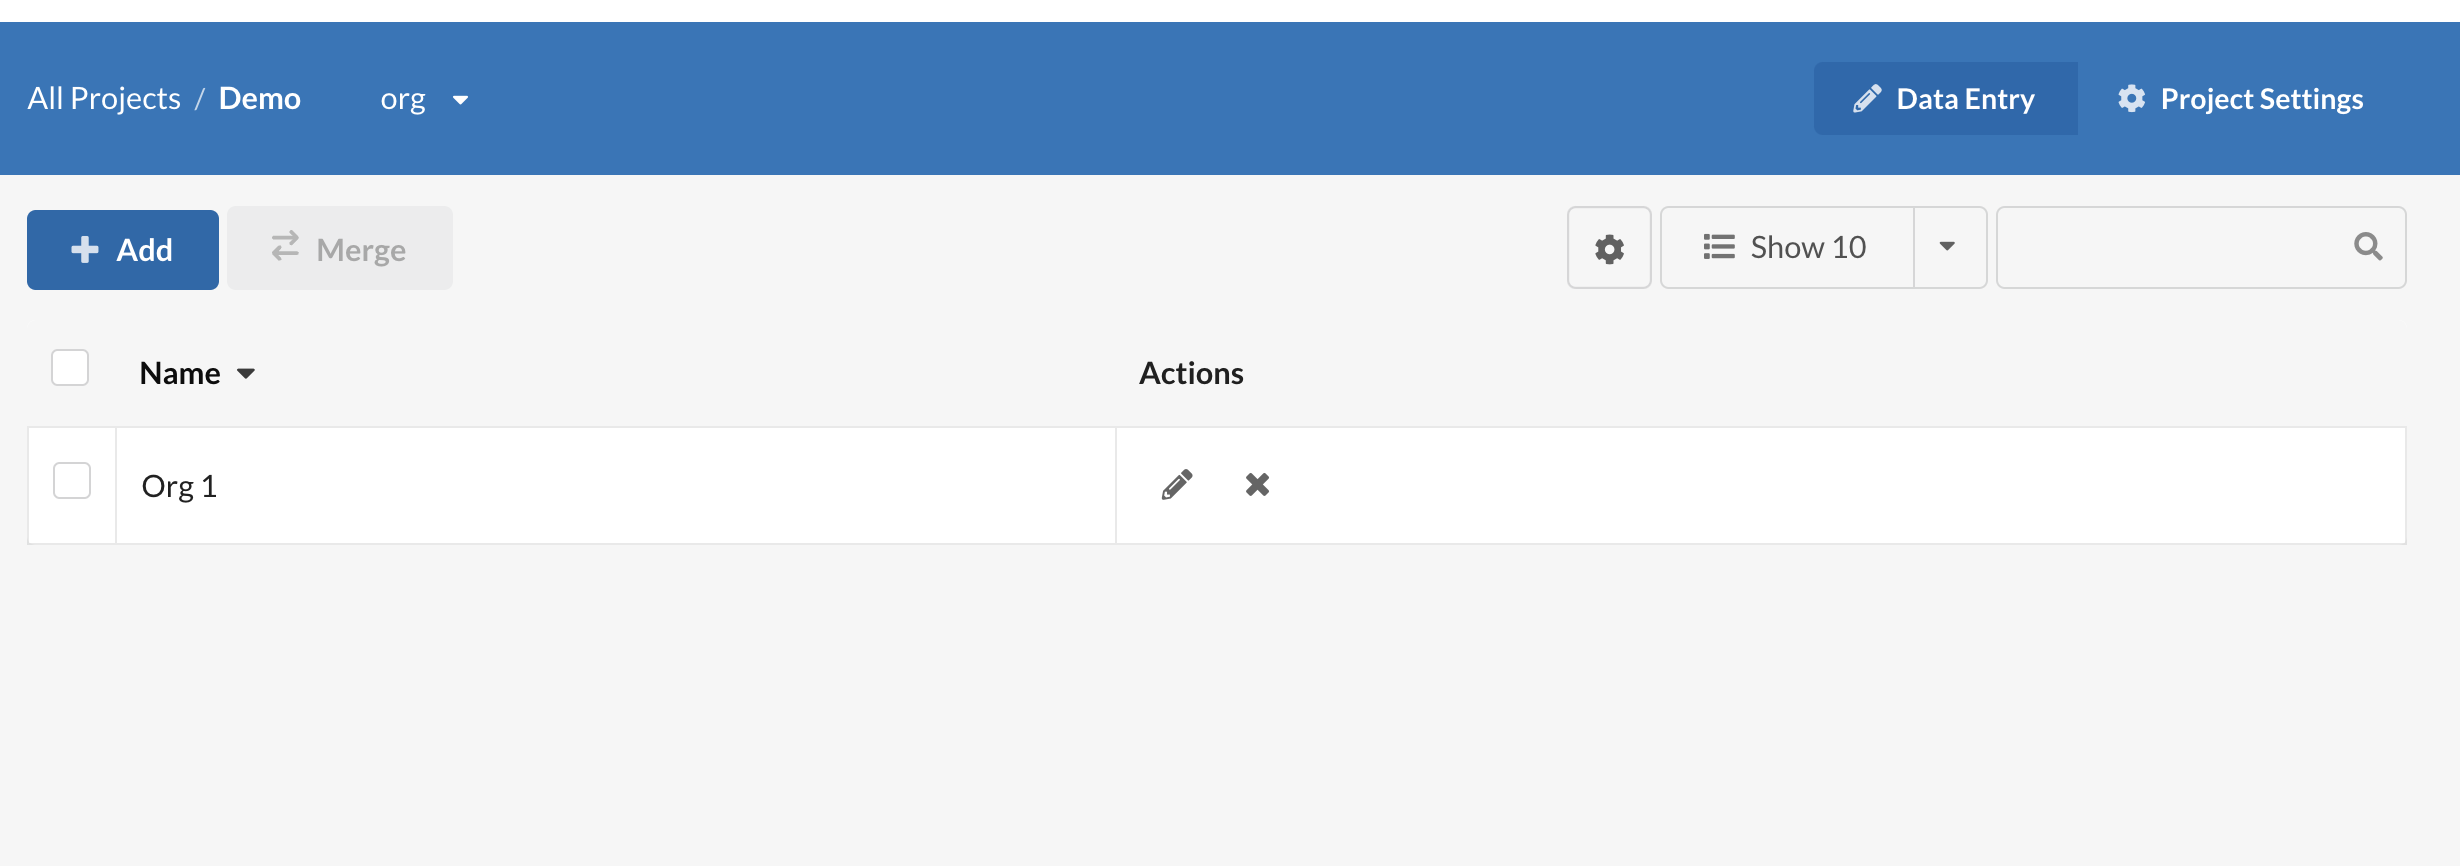
To add a new record, click the “Add” button at the top left.
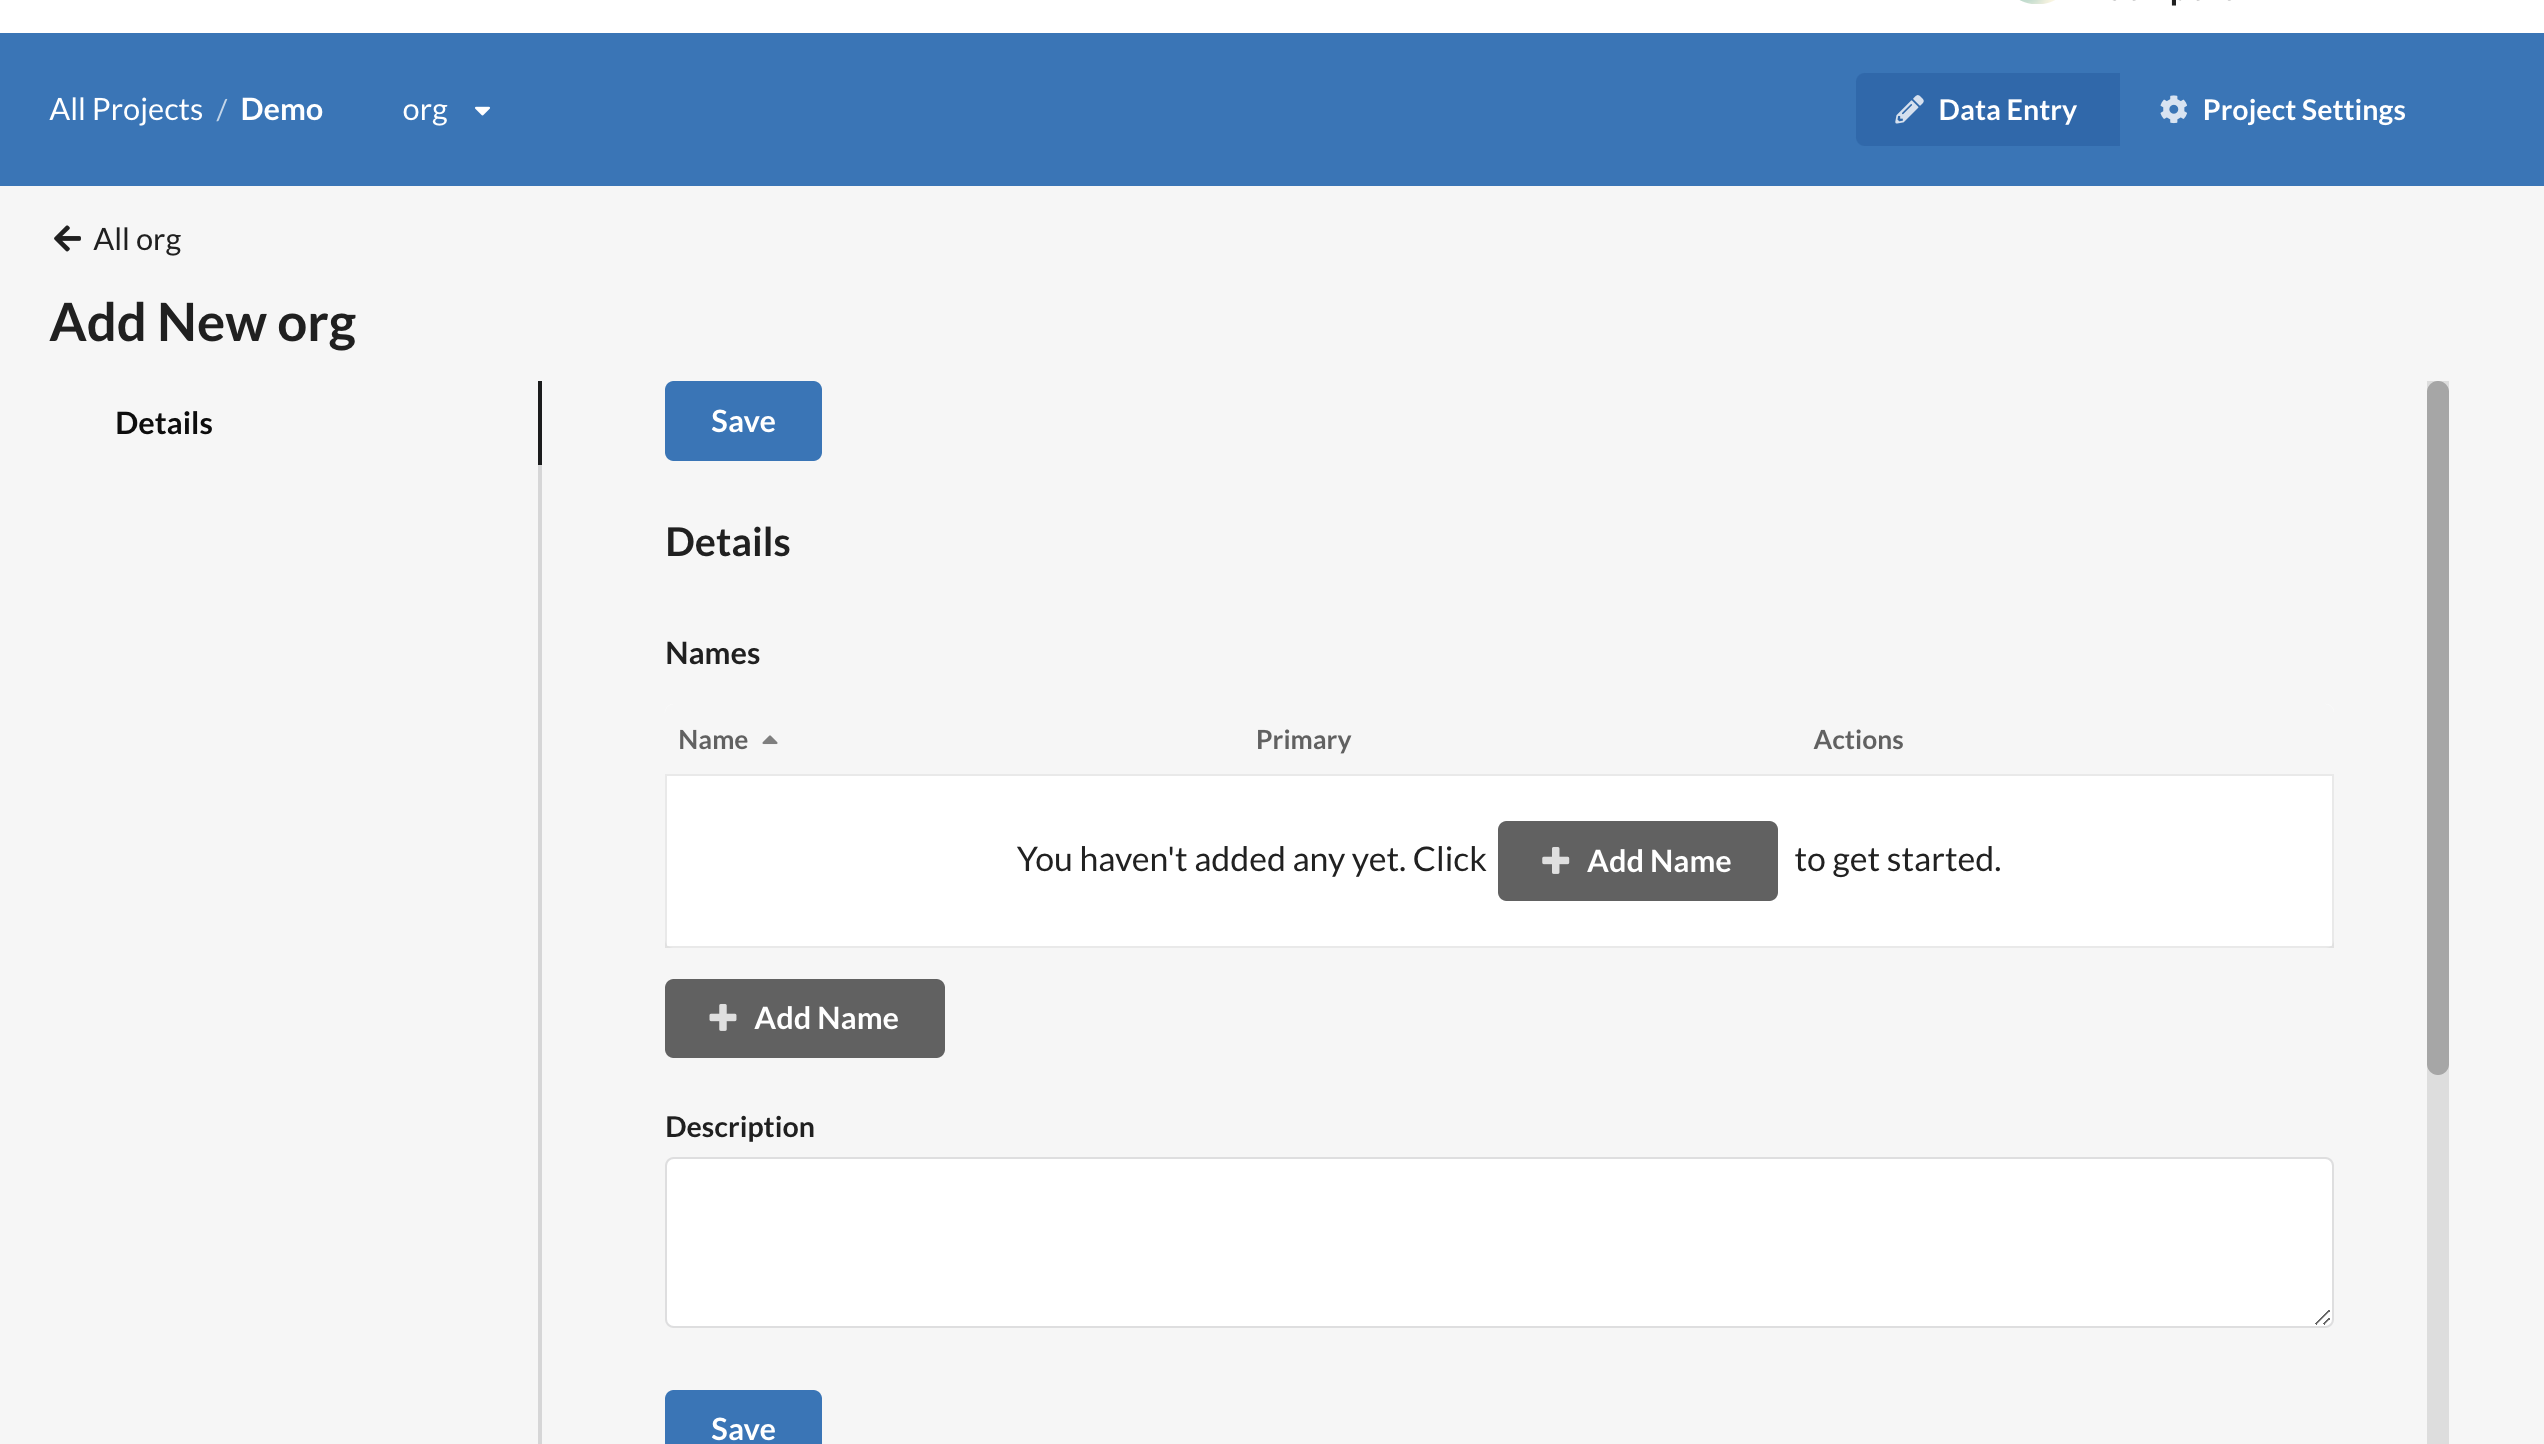
In this model, I will add a name but leave other fields blank. Many models will let you list multiple names, so one name must be marked as “Primary.” I’m only adding one name to this record, so I will check this name as “Primary.”

Save the name and then save the record itself.
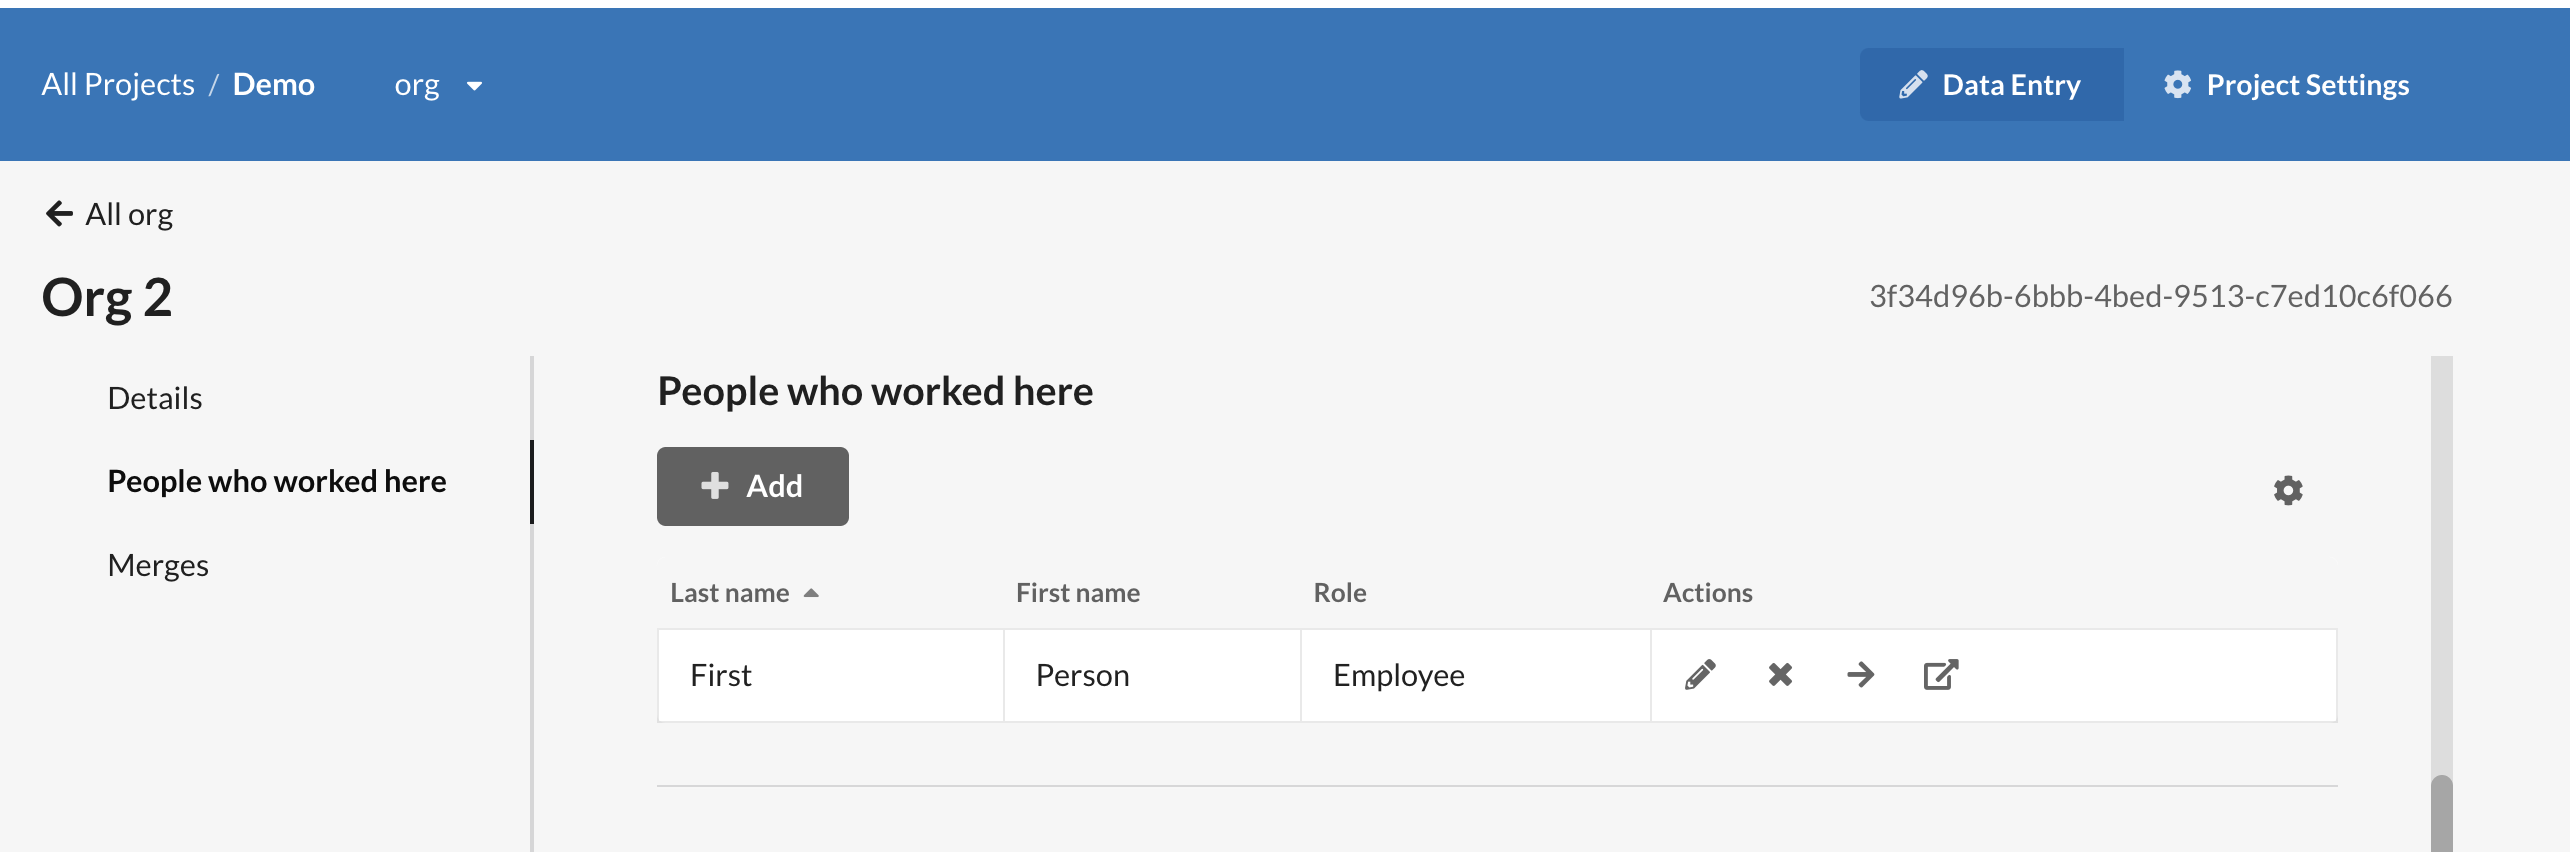
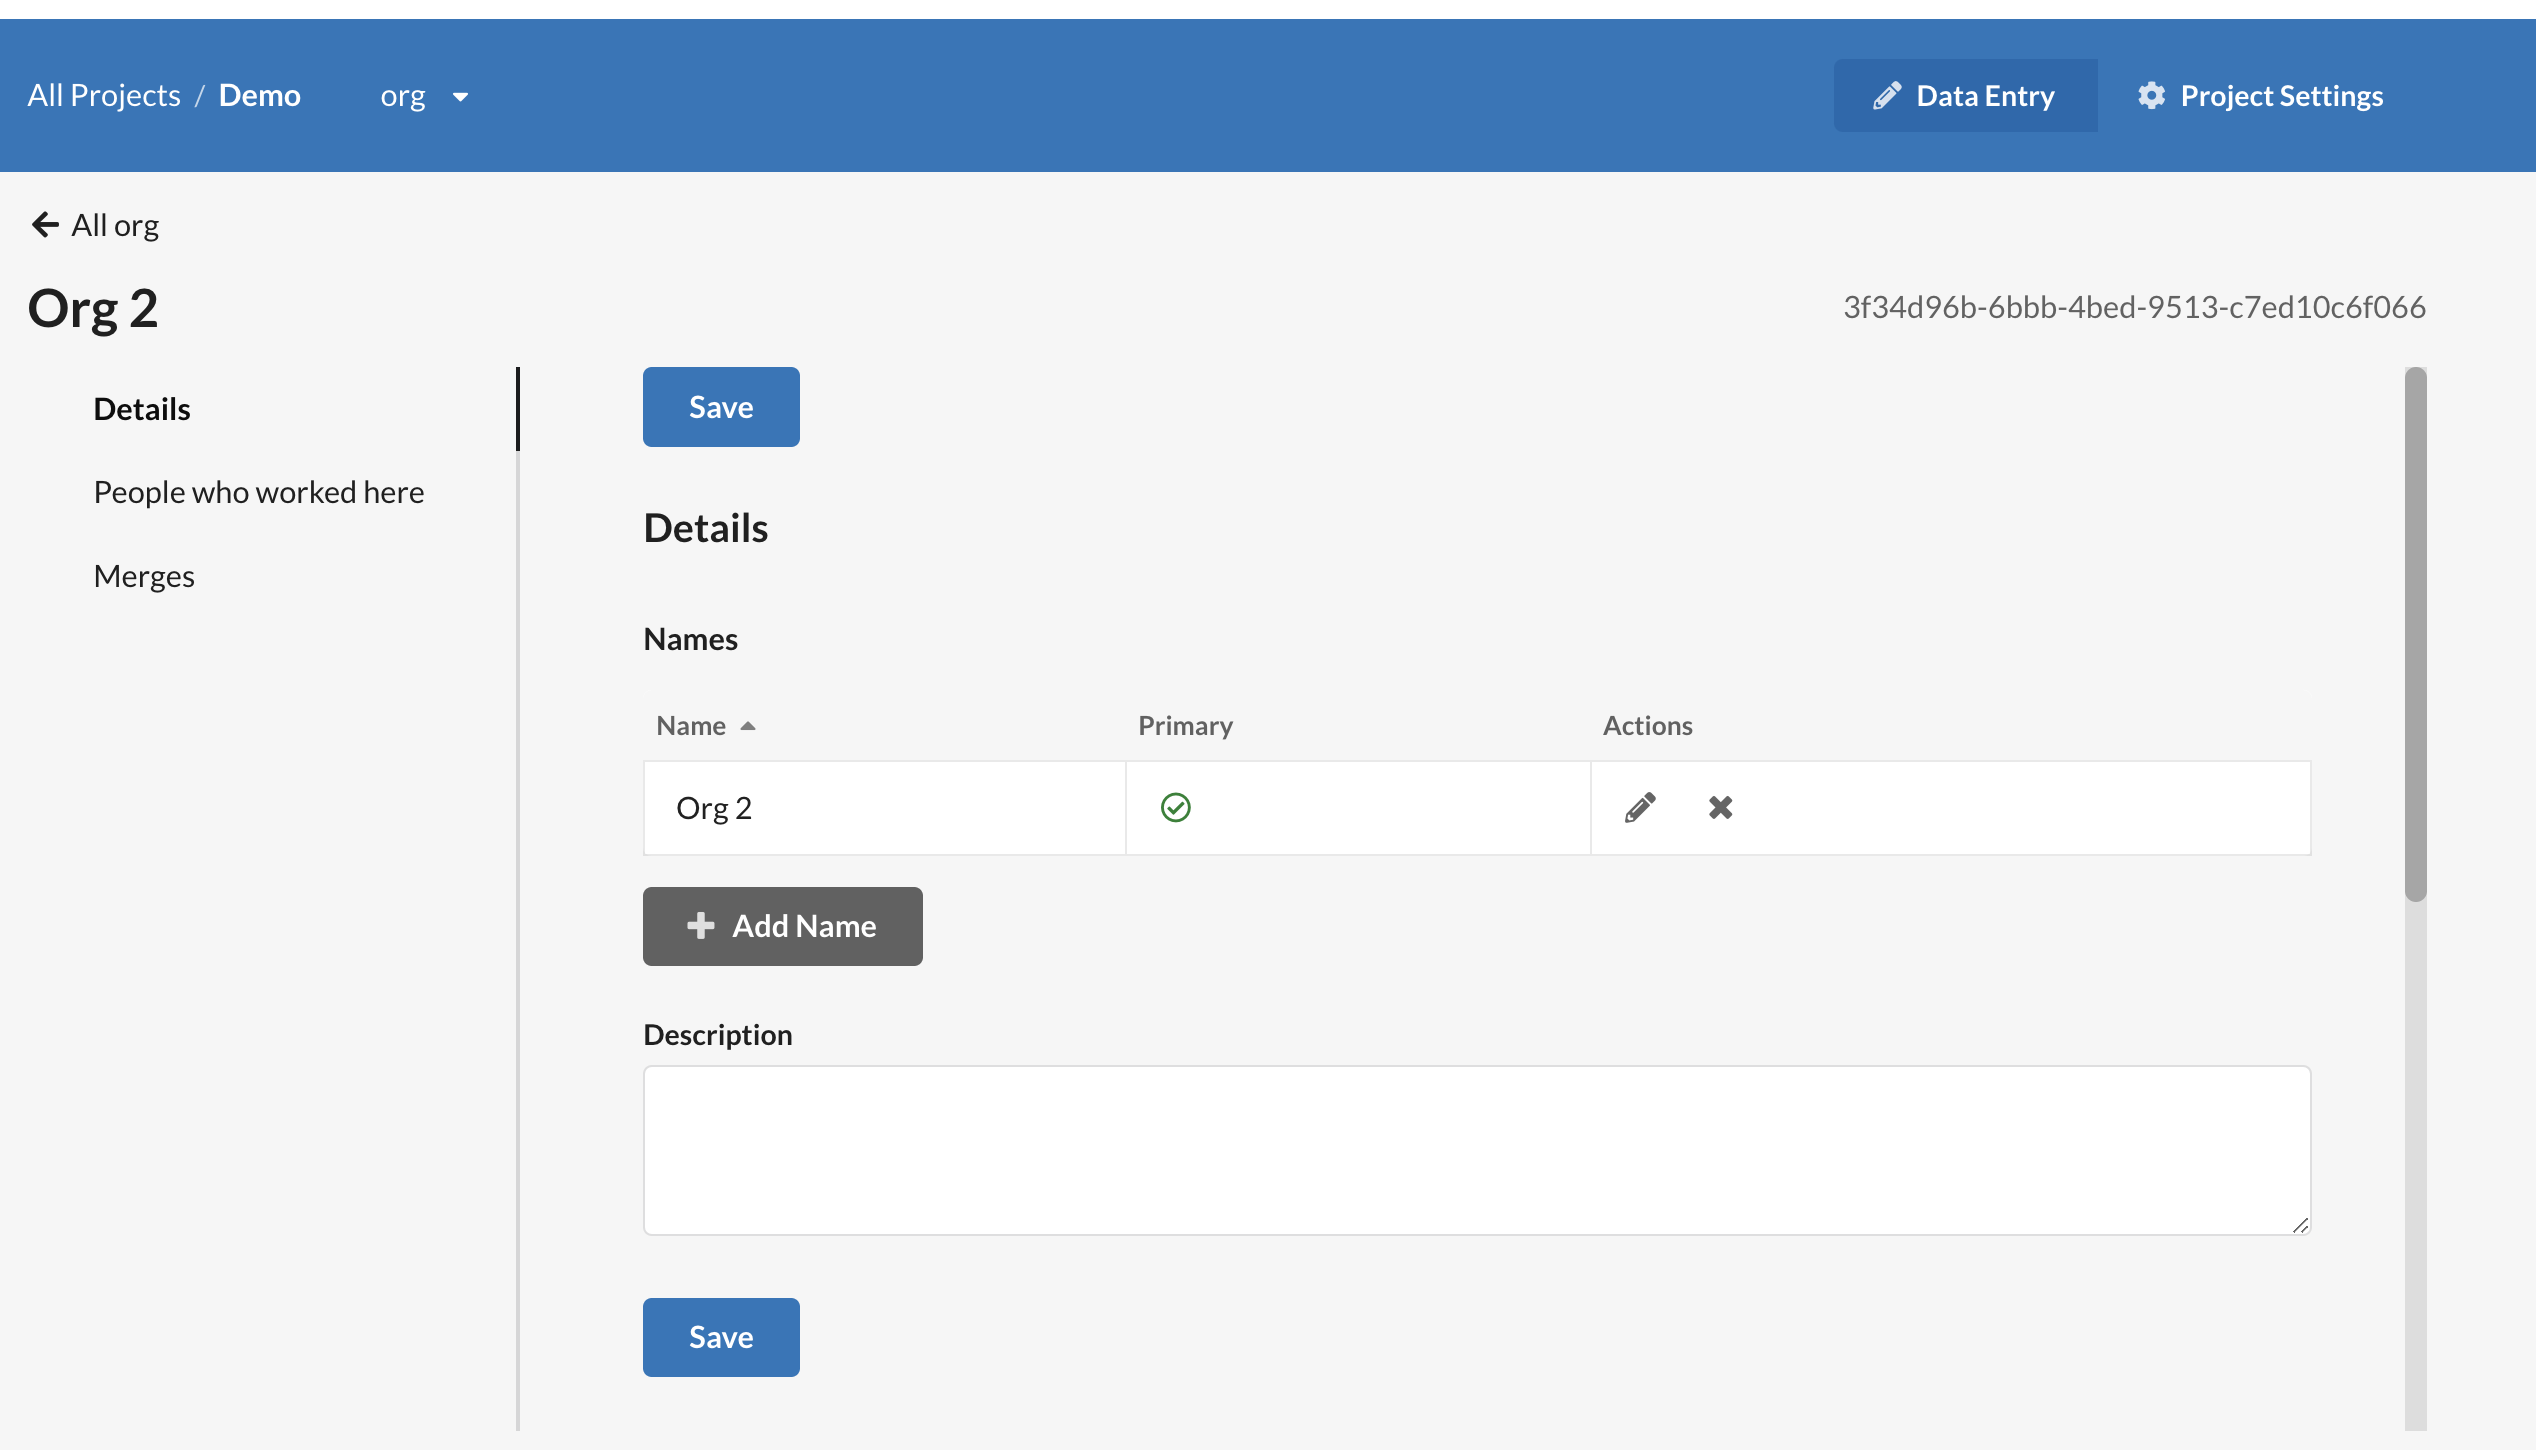
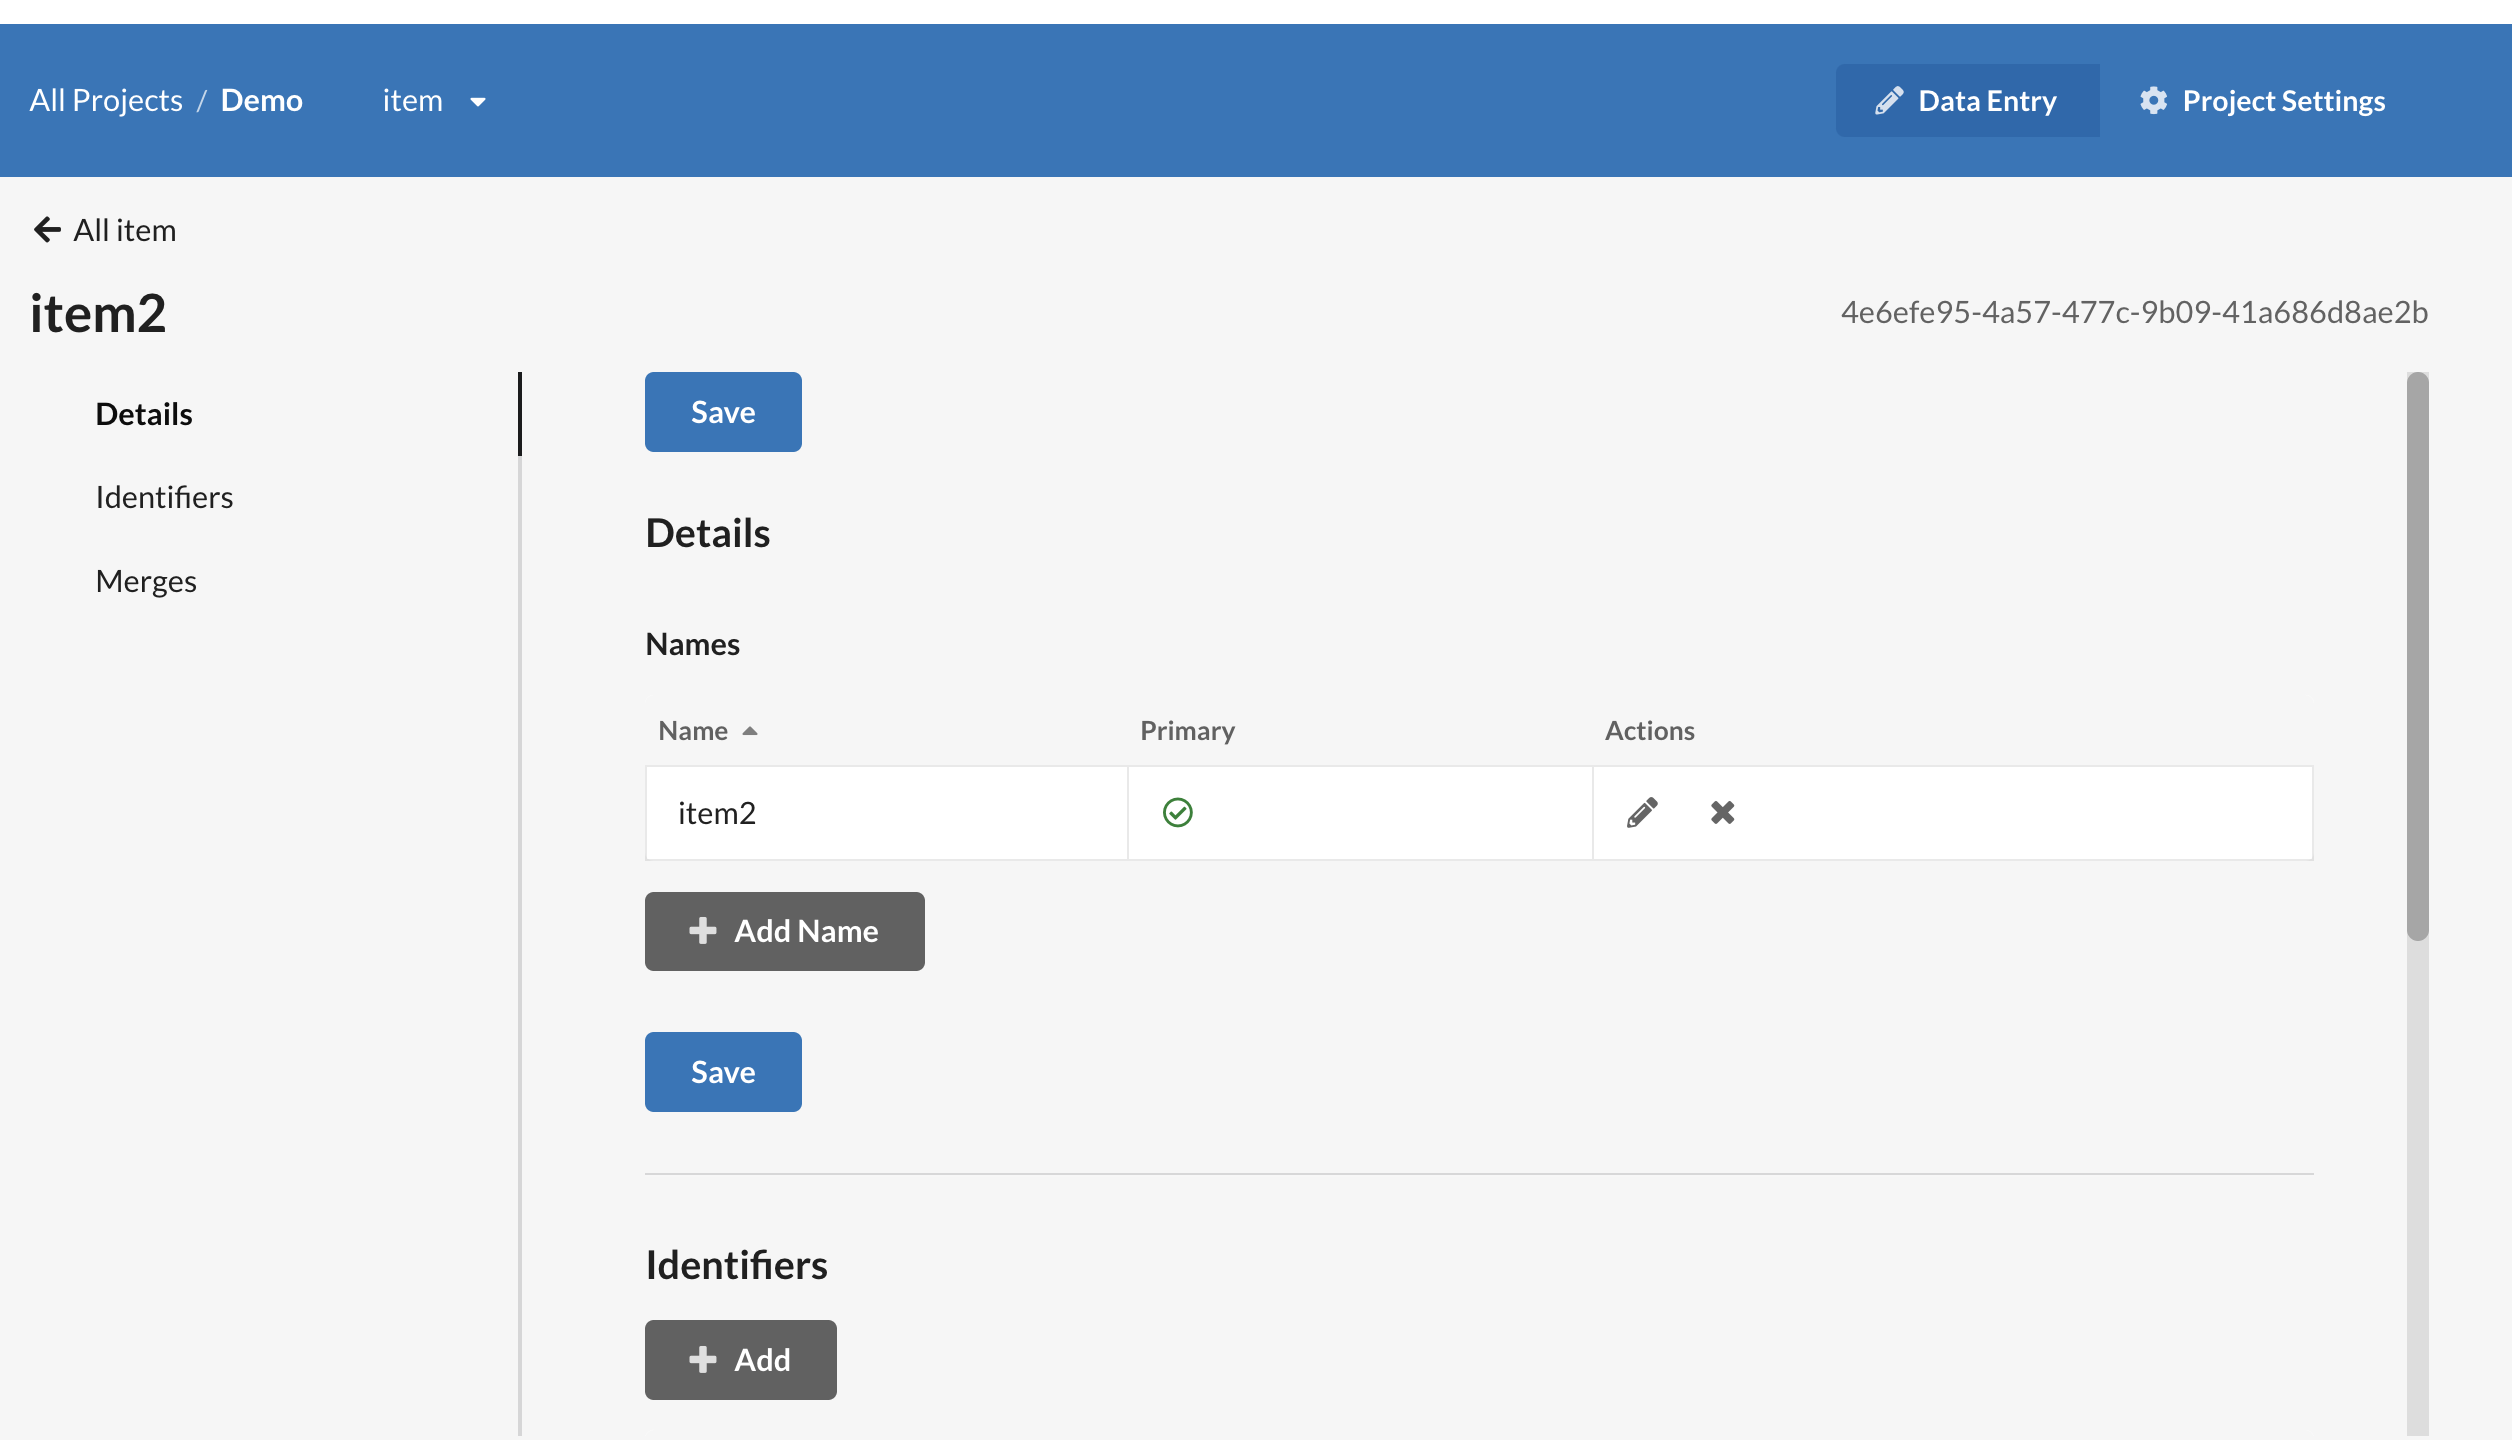
If other models are related to this model, you will now see additional navigation on the left and new fields if you scroll down. You will also see a “Merges” link on the left and an alphanumeric number in the upper right.
If you have included external authorities as part of your data model, you will also see an “Identifiers” link.
Scroll down and continue to enter data for any related models. After you add a related model and save it, you can use the icons in the Actions column to edit or delete the relationship. You can click the arrow to go to that model’s page, or you can open the model in a new tab.