On the lefthand navigation, click Posts.
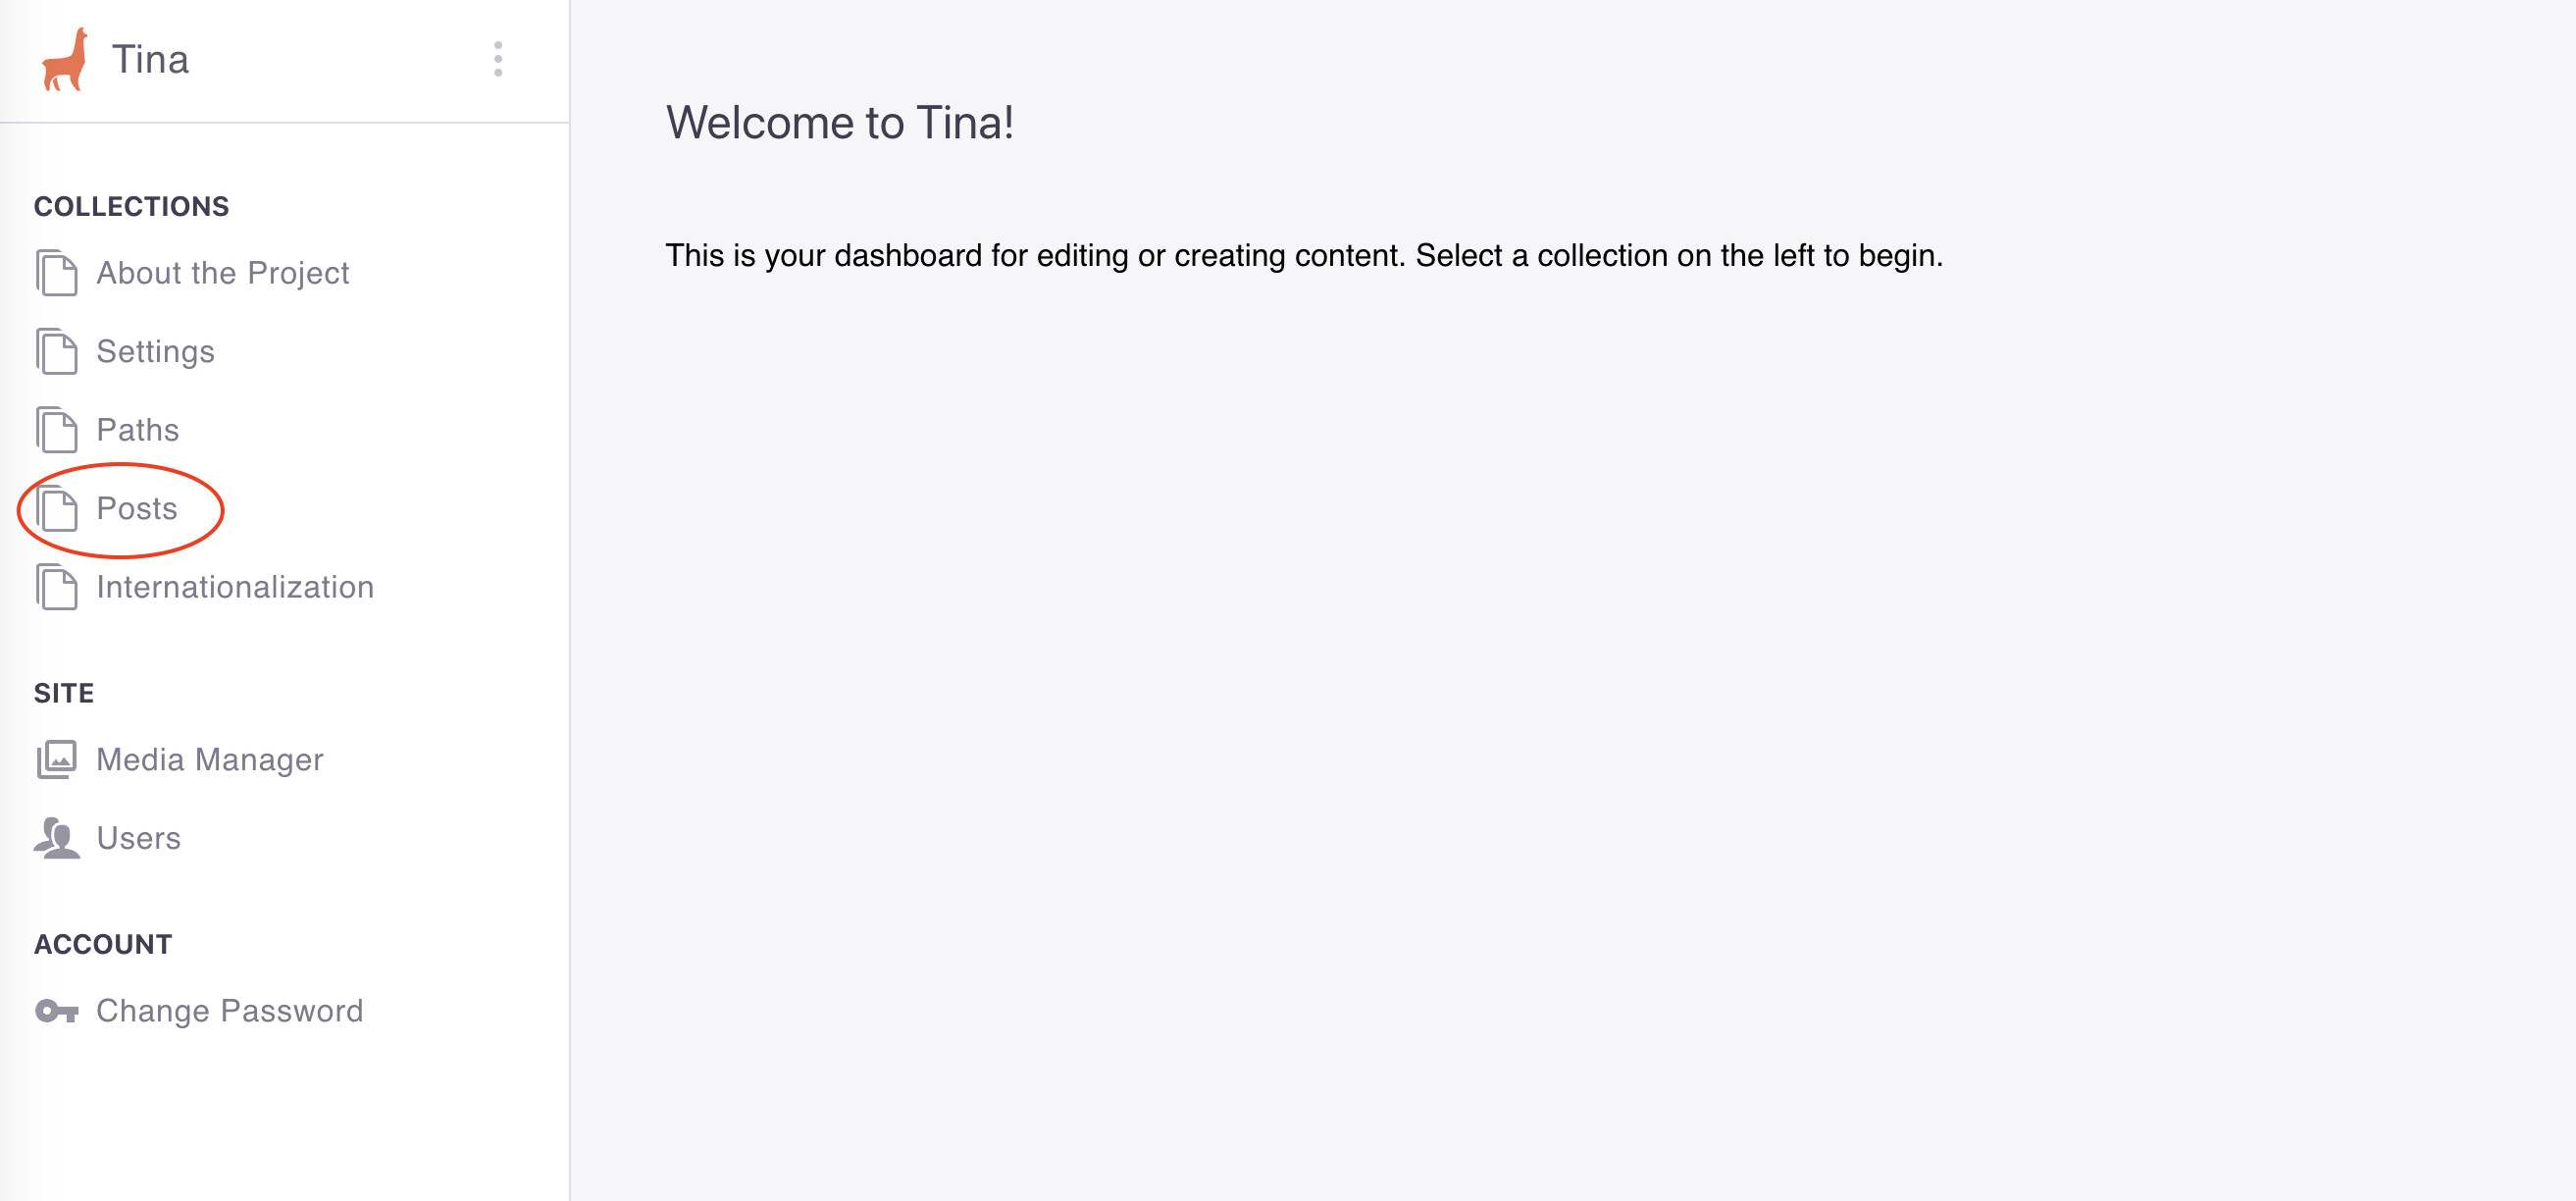
In the main window, you’ll see a list of Posts that are already on the site.
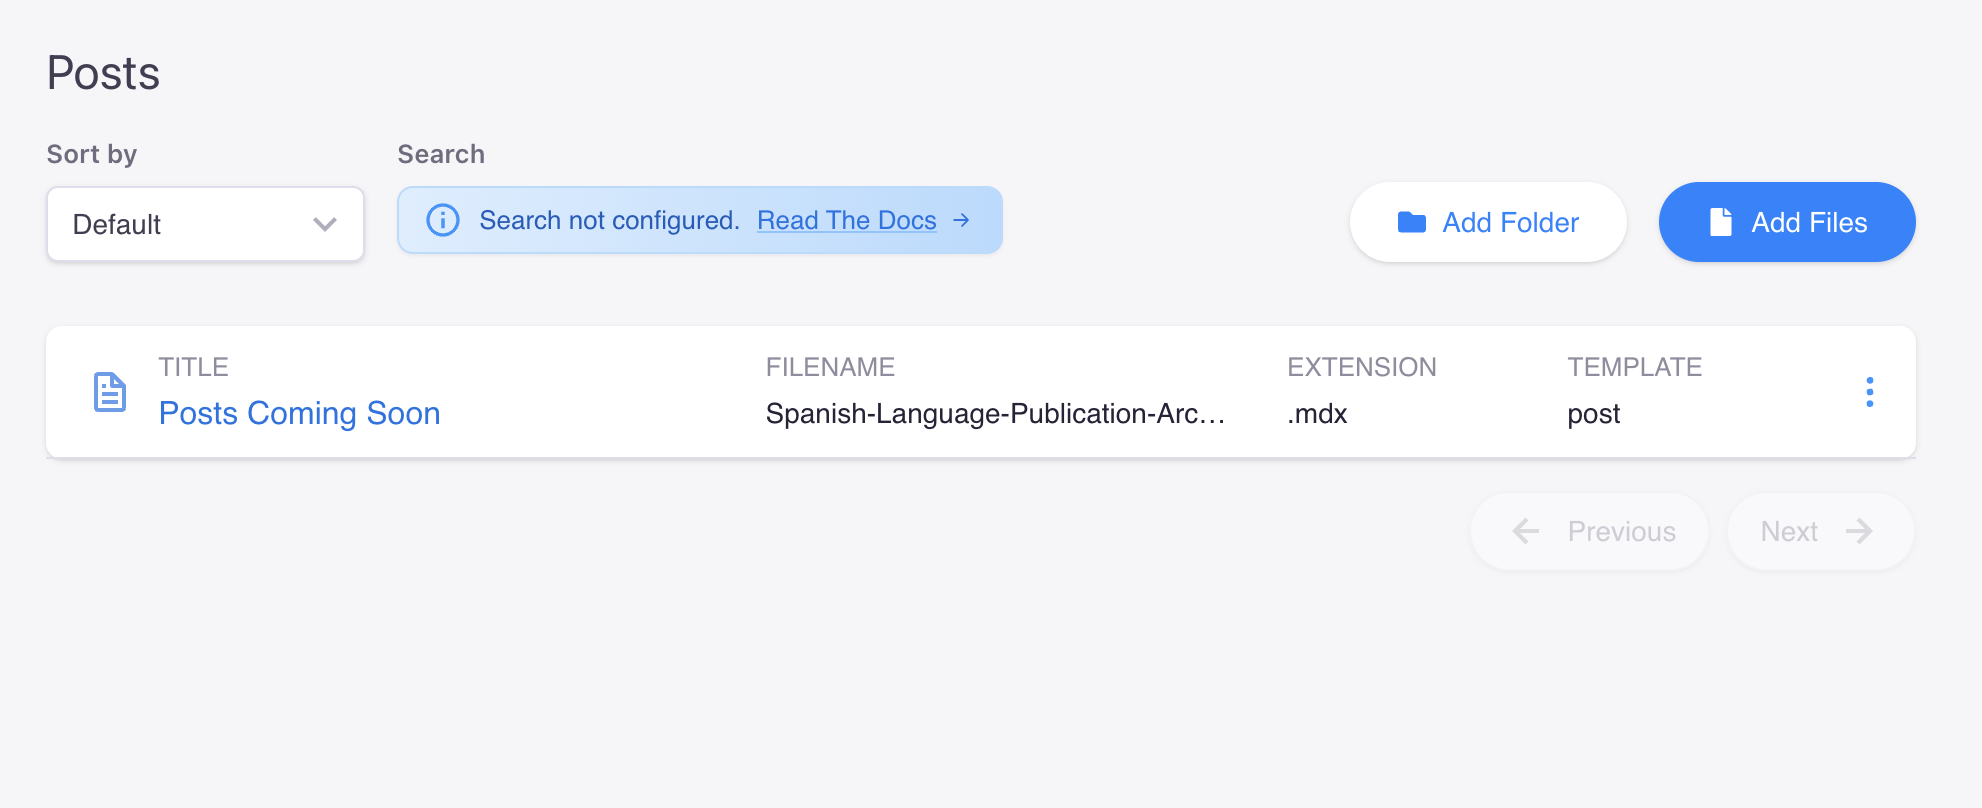
To create a new Post, click the blue Add Files button.
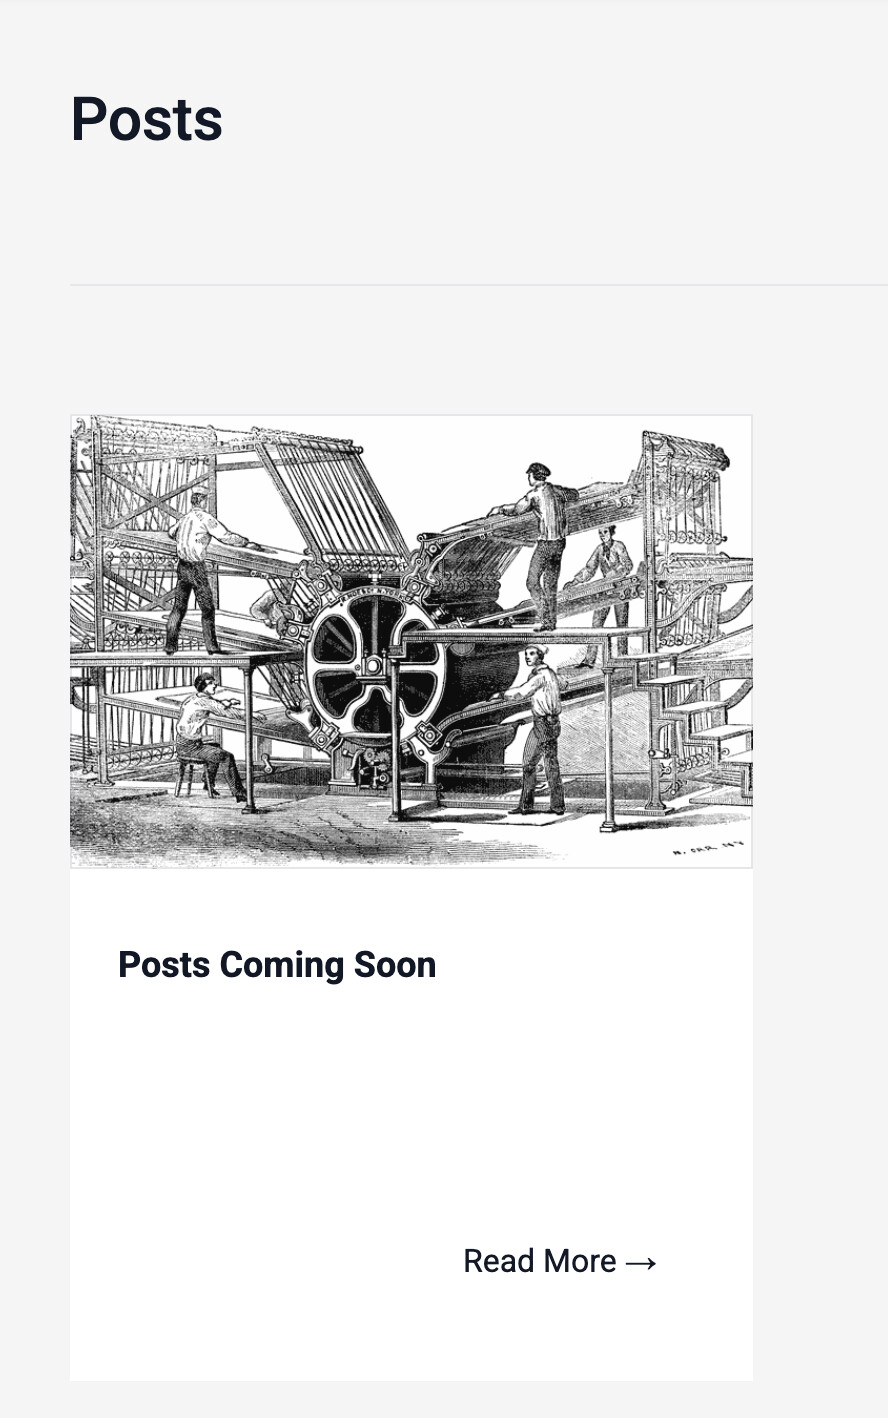
If you look at a page of Posts on a published site, you’ll see that each post is represented by a card with a title and image.
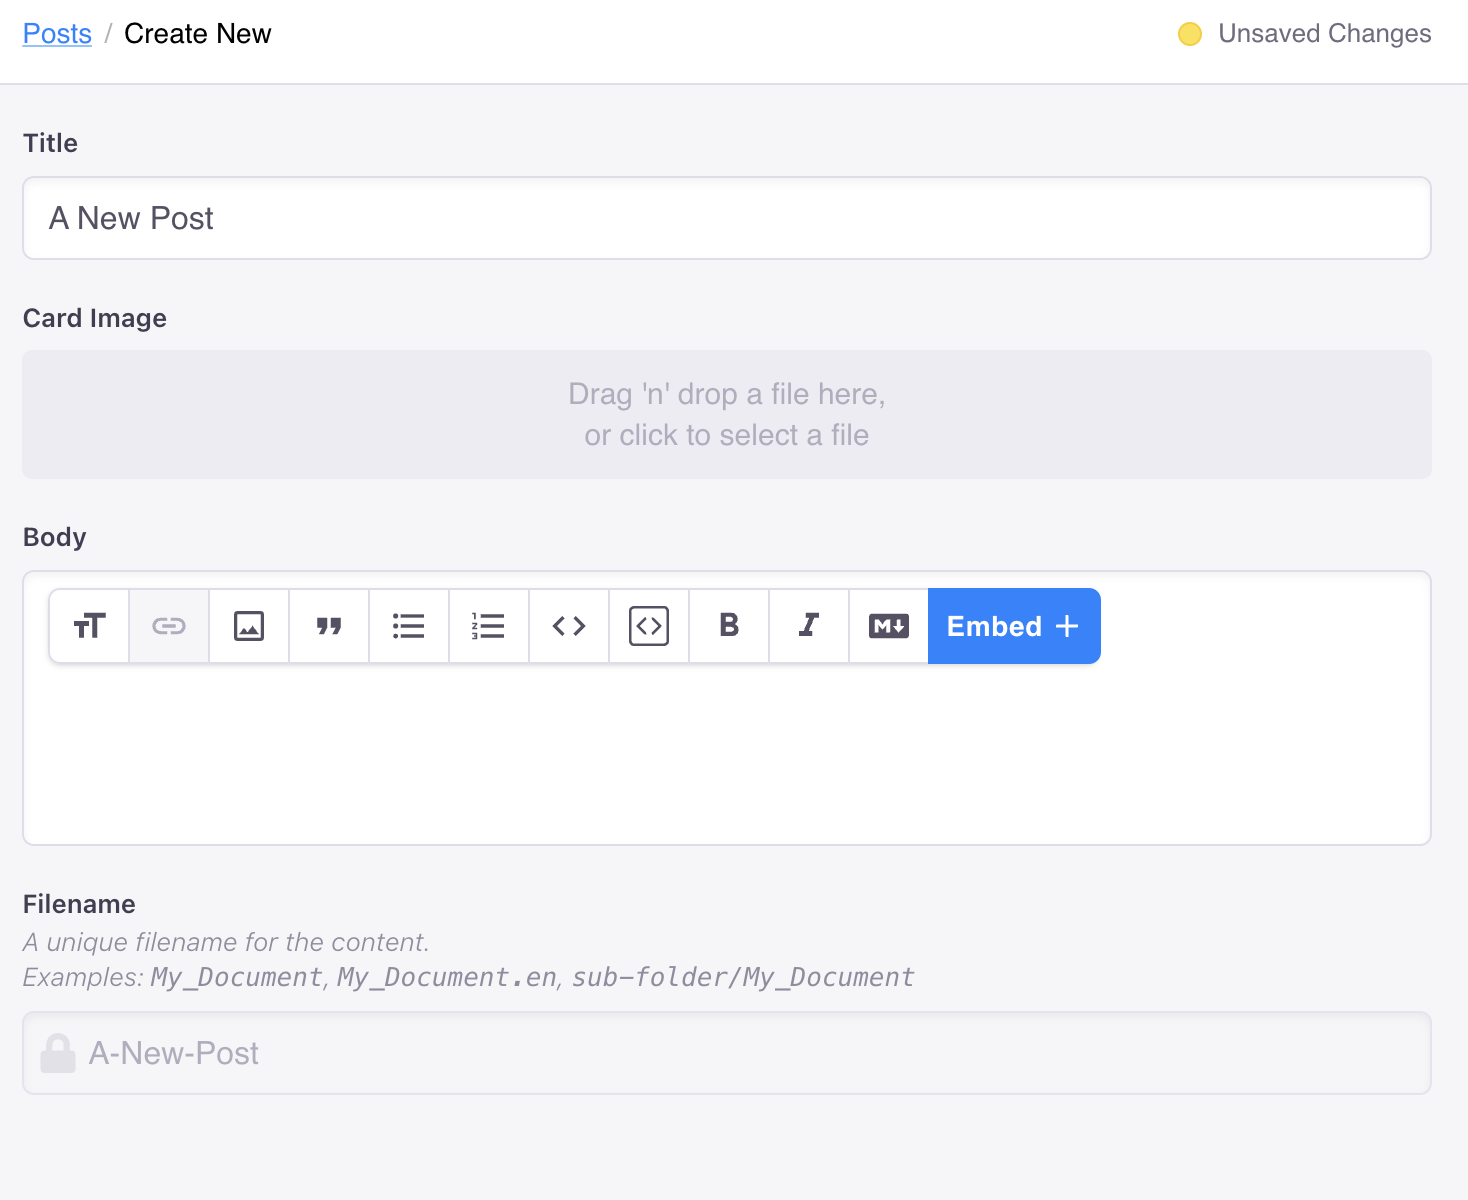
Add a Title for your post. As you can see at the bottom of the page, a URL will automatically be generated from the name. This URL can be edited.
You can either drag an image onto the card image or click on the box to open the Tina Media Manager. You can upload images via the Media Manager by clicking the blue Upload button or select an already uploaded image to use.
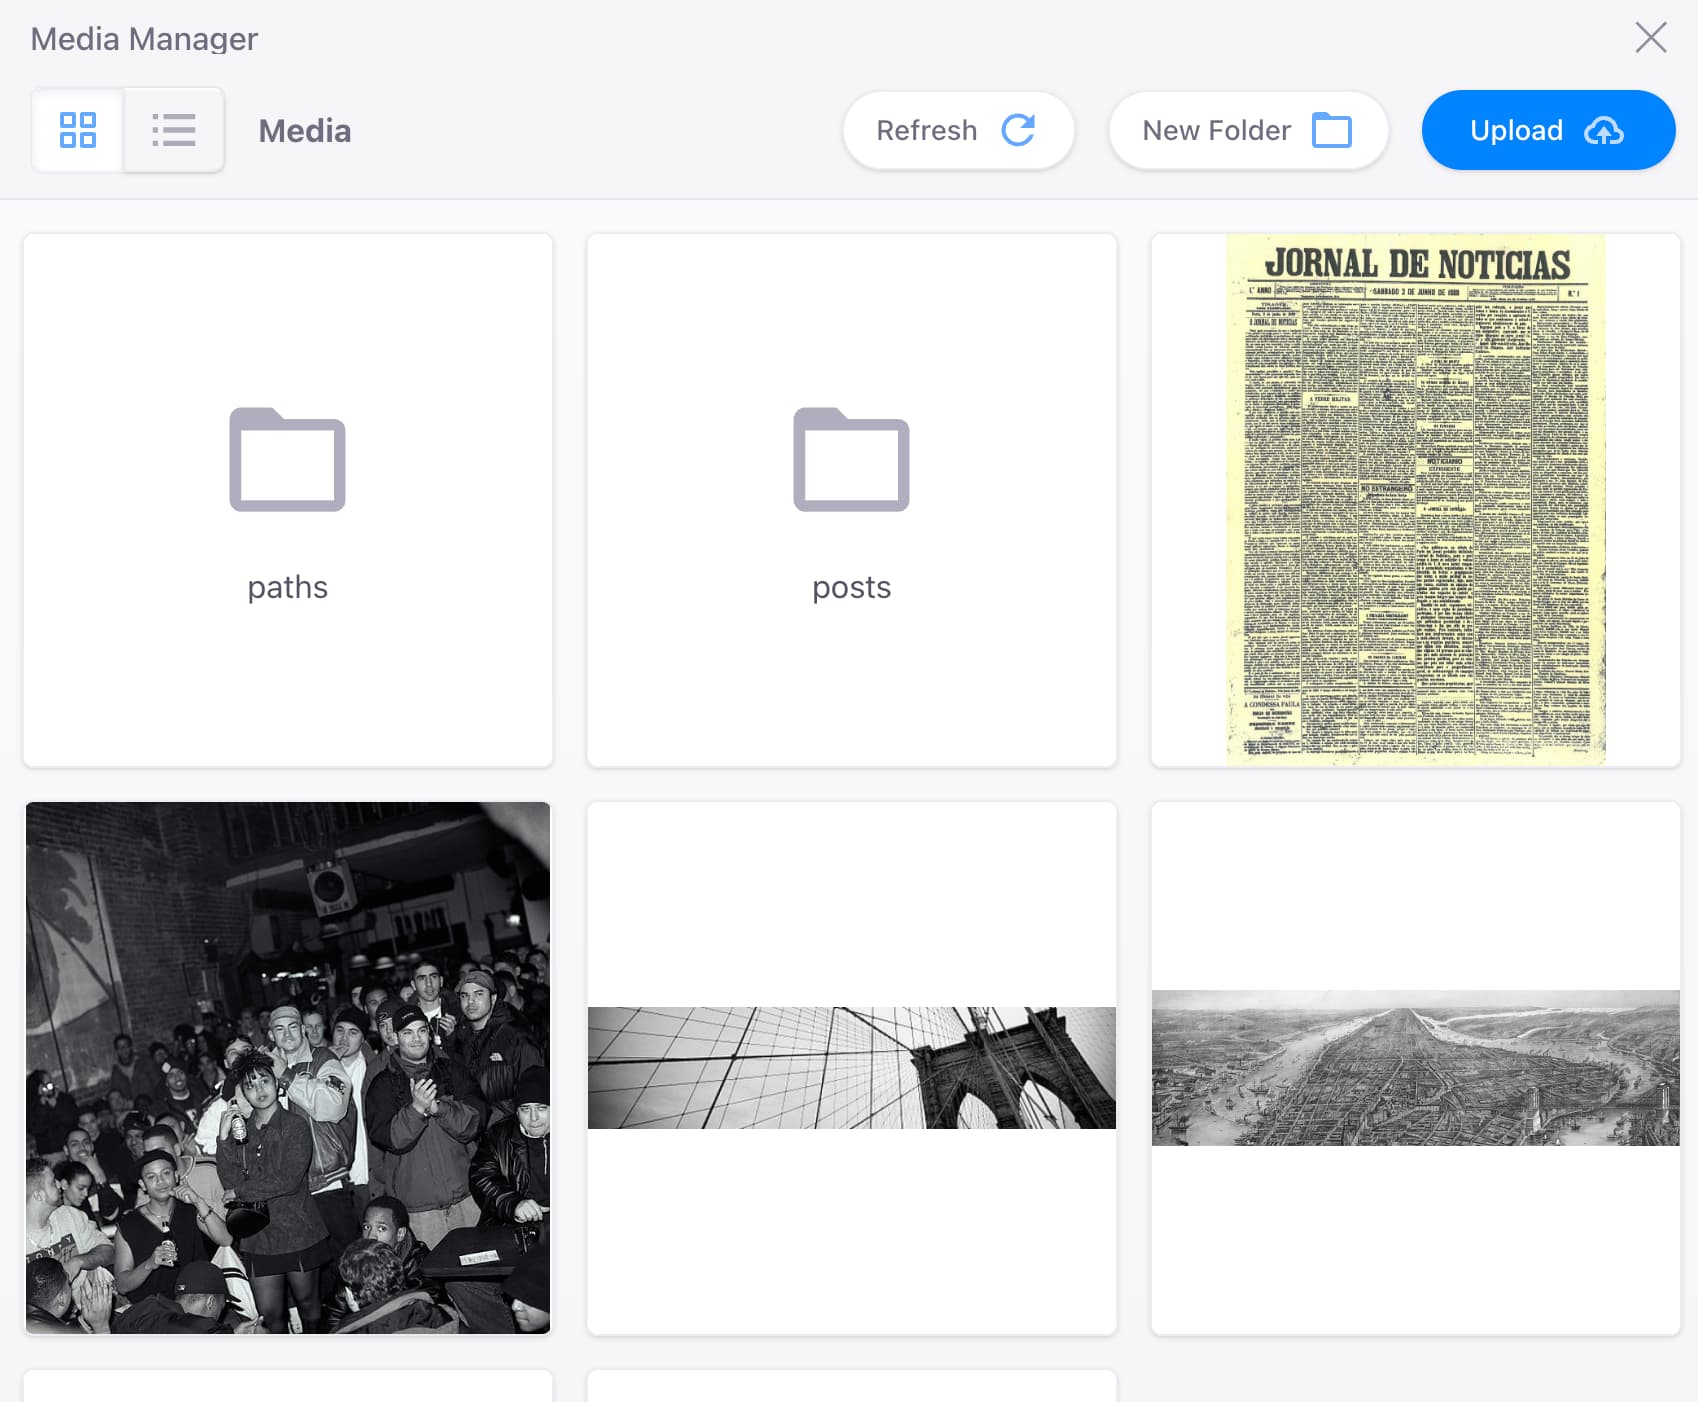
Once you select an image, click Insert.

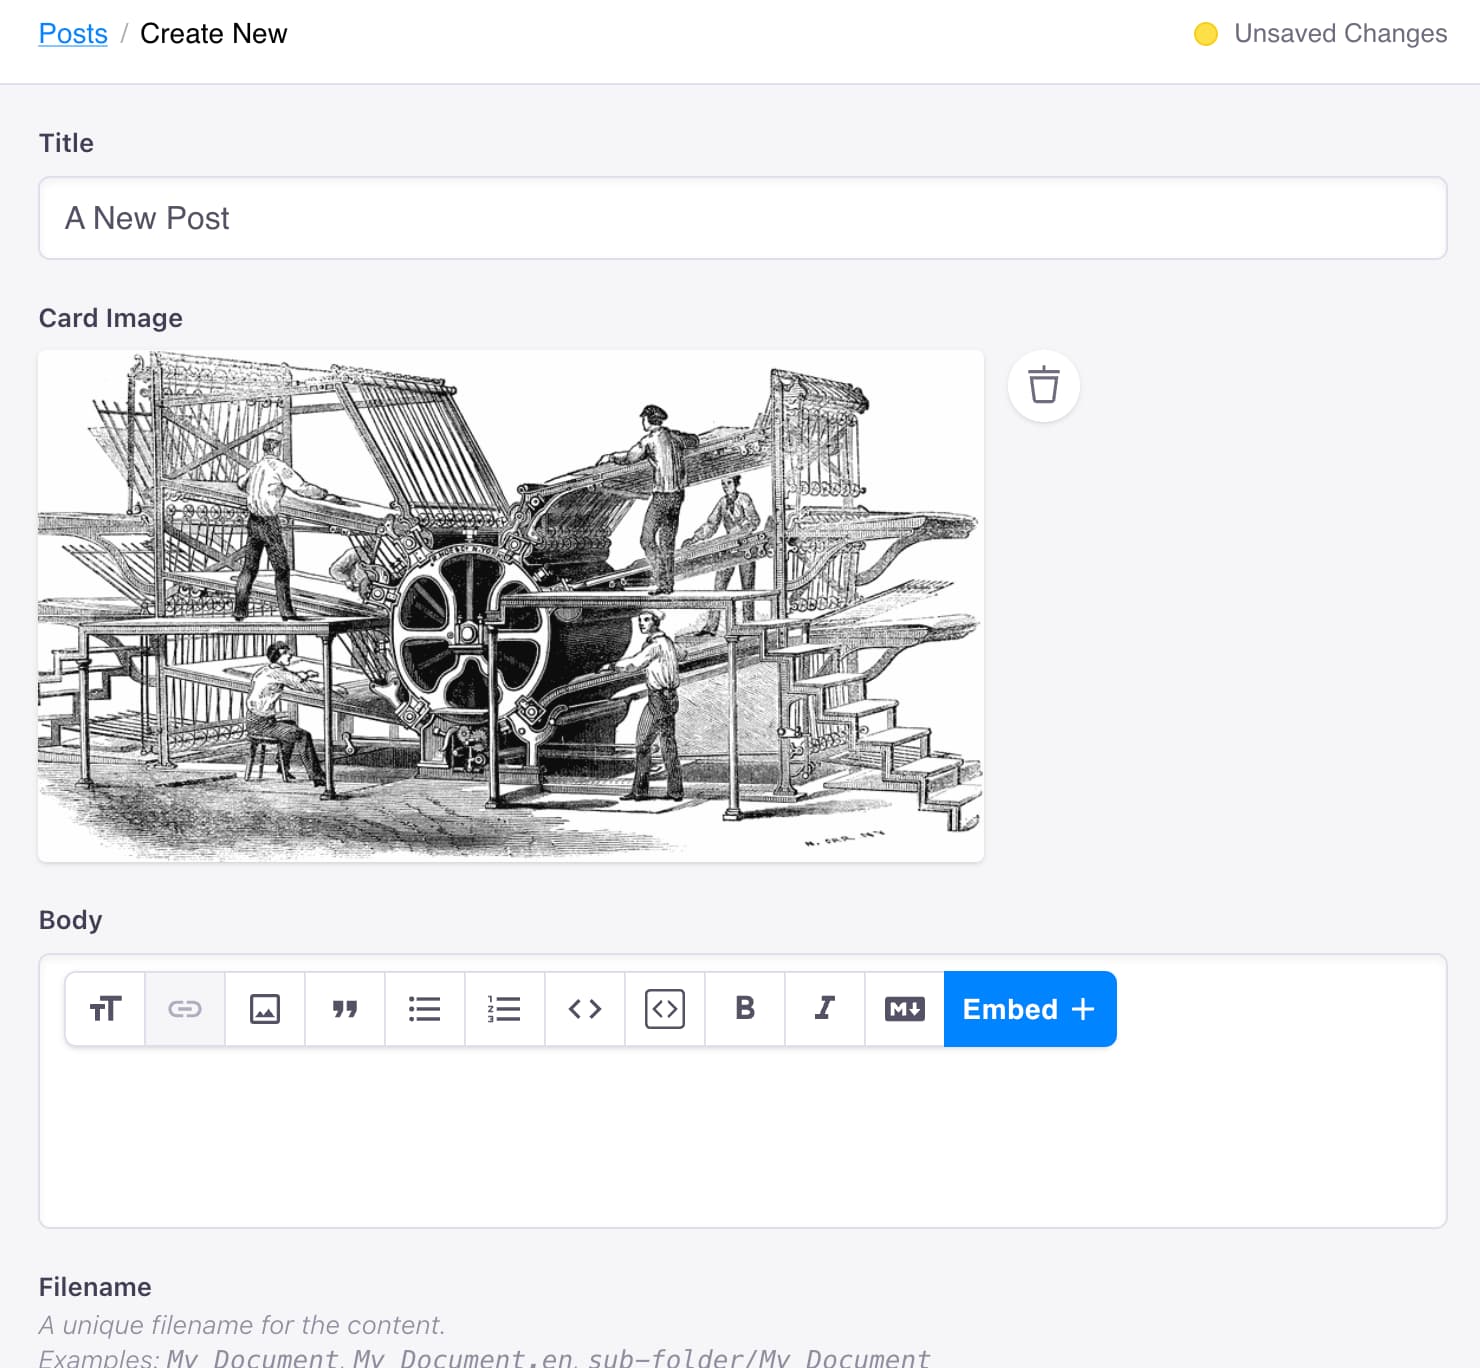
The image will appear as your Posts’s card image. You can delete and replace this image by clicking the Trash icon.
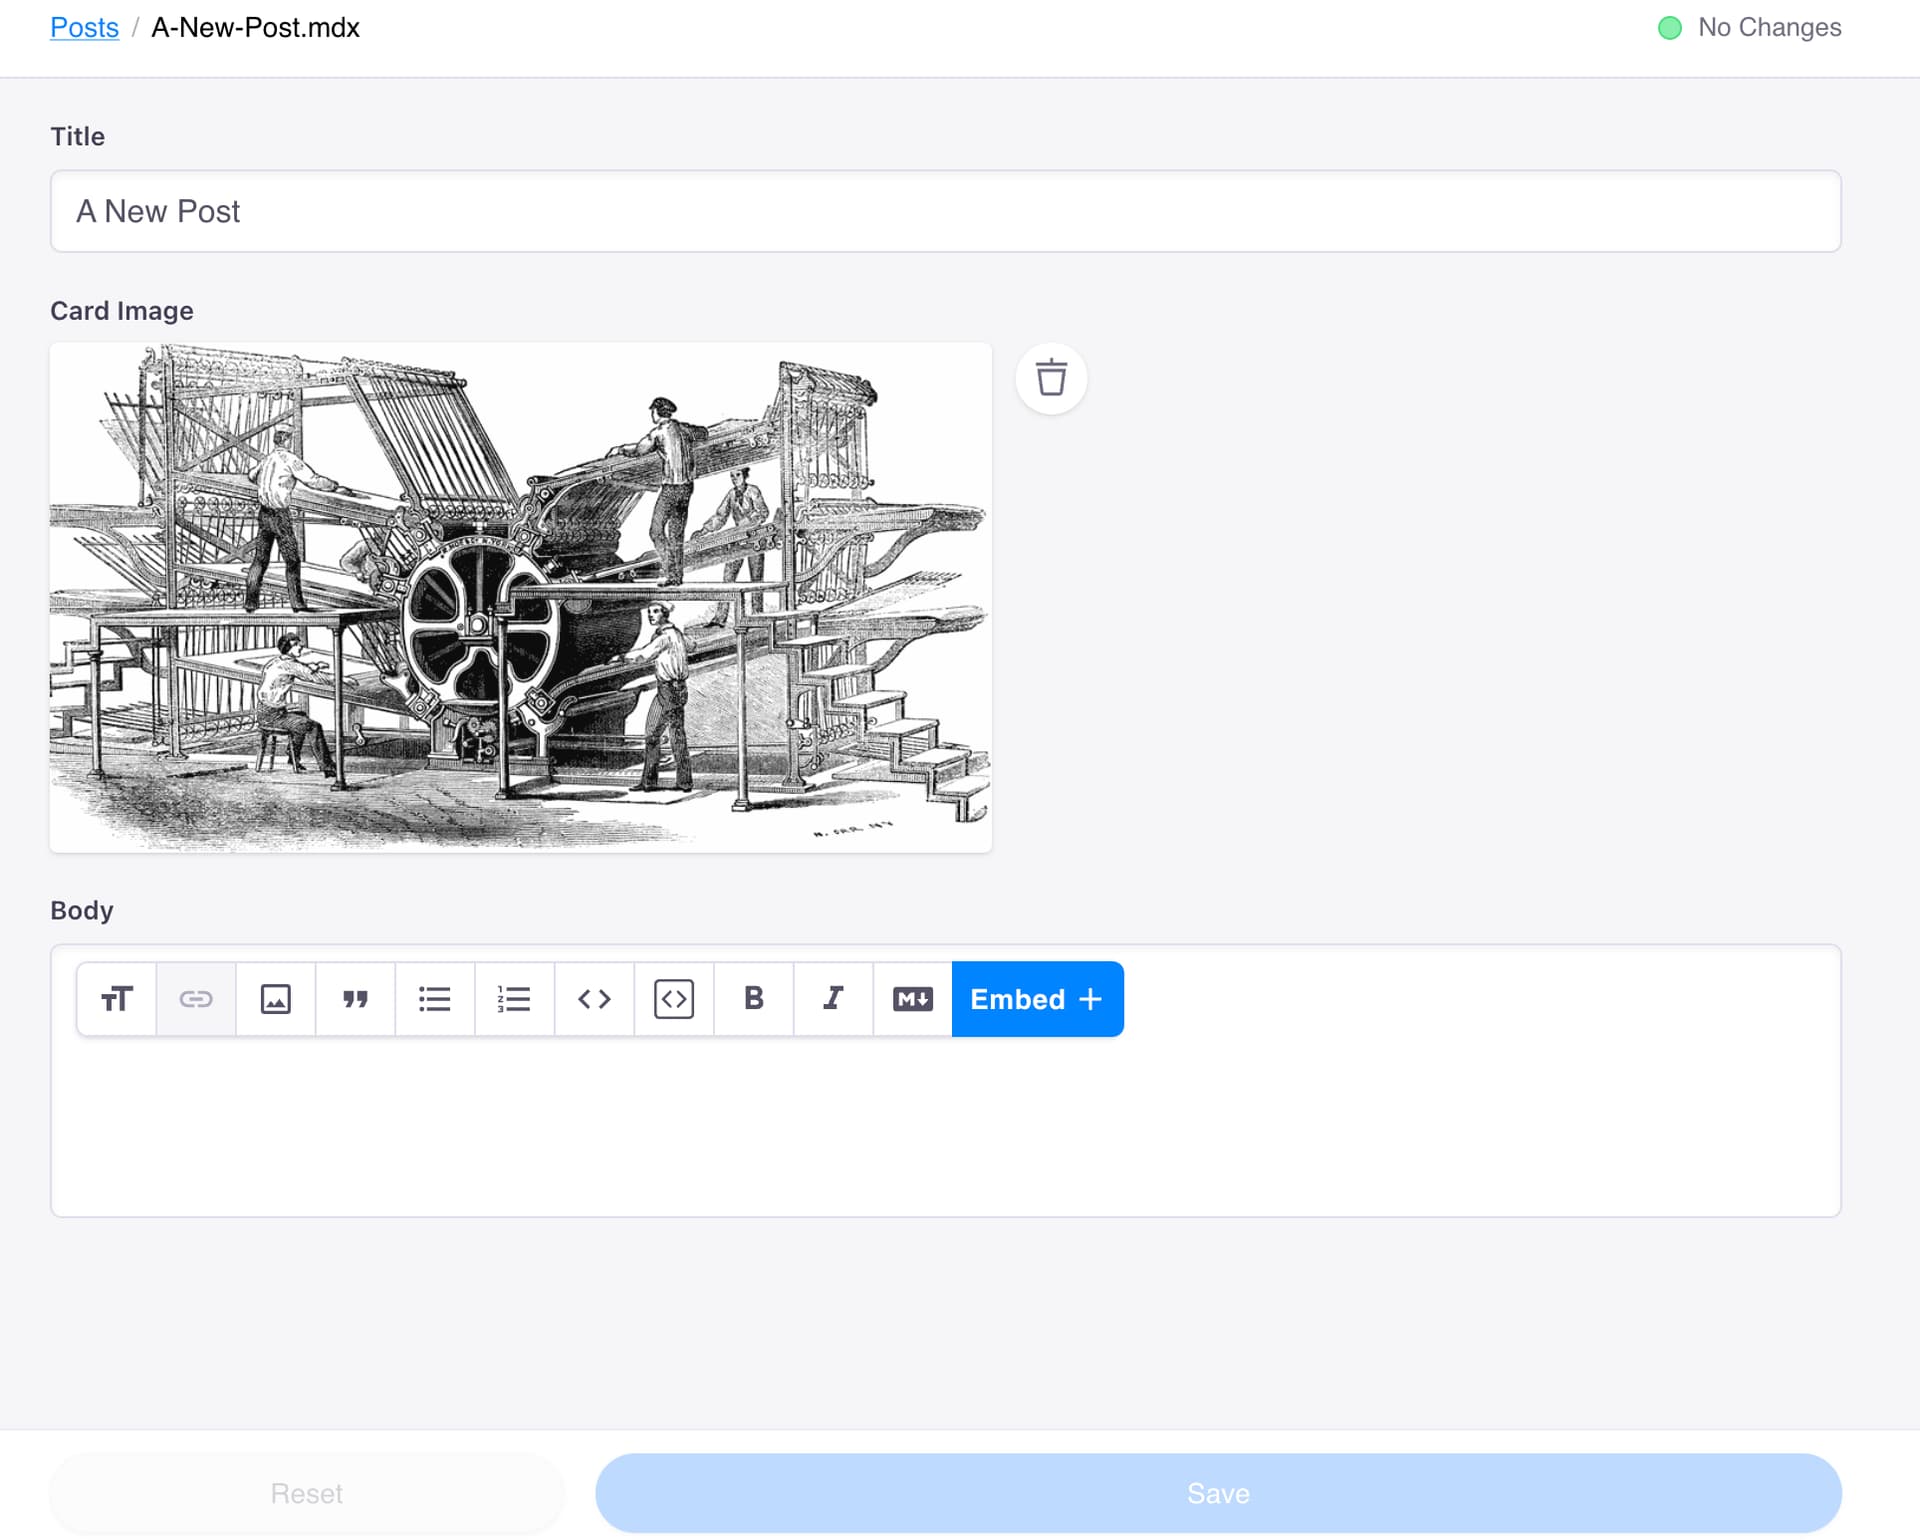
Remember to Save your post by clicking the Blue Save button. This will return you to the list of Posts. Click on your post to edit it.
You can track whether or not you have unsaved changes by the Save button and by the indicator in the upper righthand corner. The Save button is only active when there are unsaved changes.
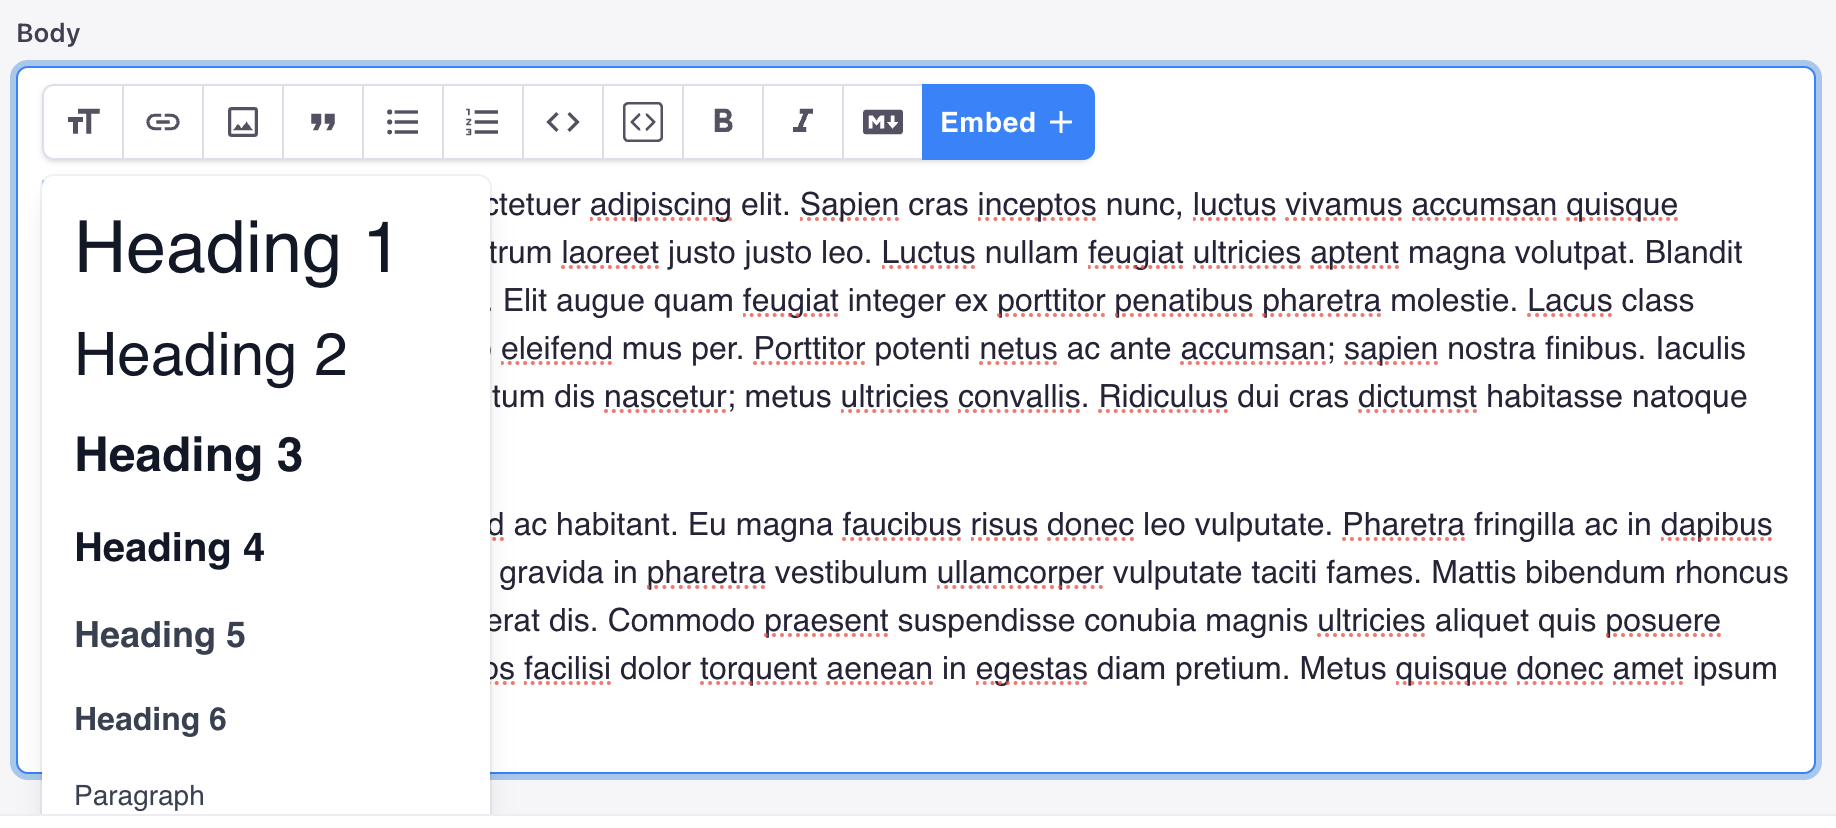
The content of your Post goes in the Body field, which will expand as you add content. This is a rich-text editor, so you can adjust font size, add a link to selected text, insert an image via Tina’s Media Manager, quote text, add unordered or numbered lists, format a code snippet or code block, bold or italicize text, switch to markdown, or embed a Place or AV.
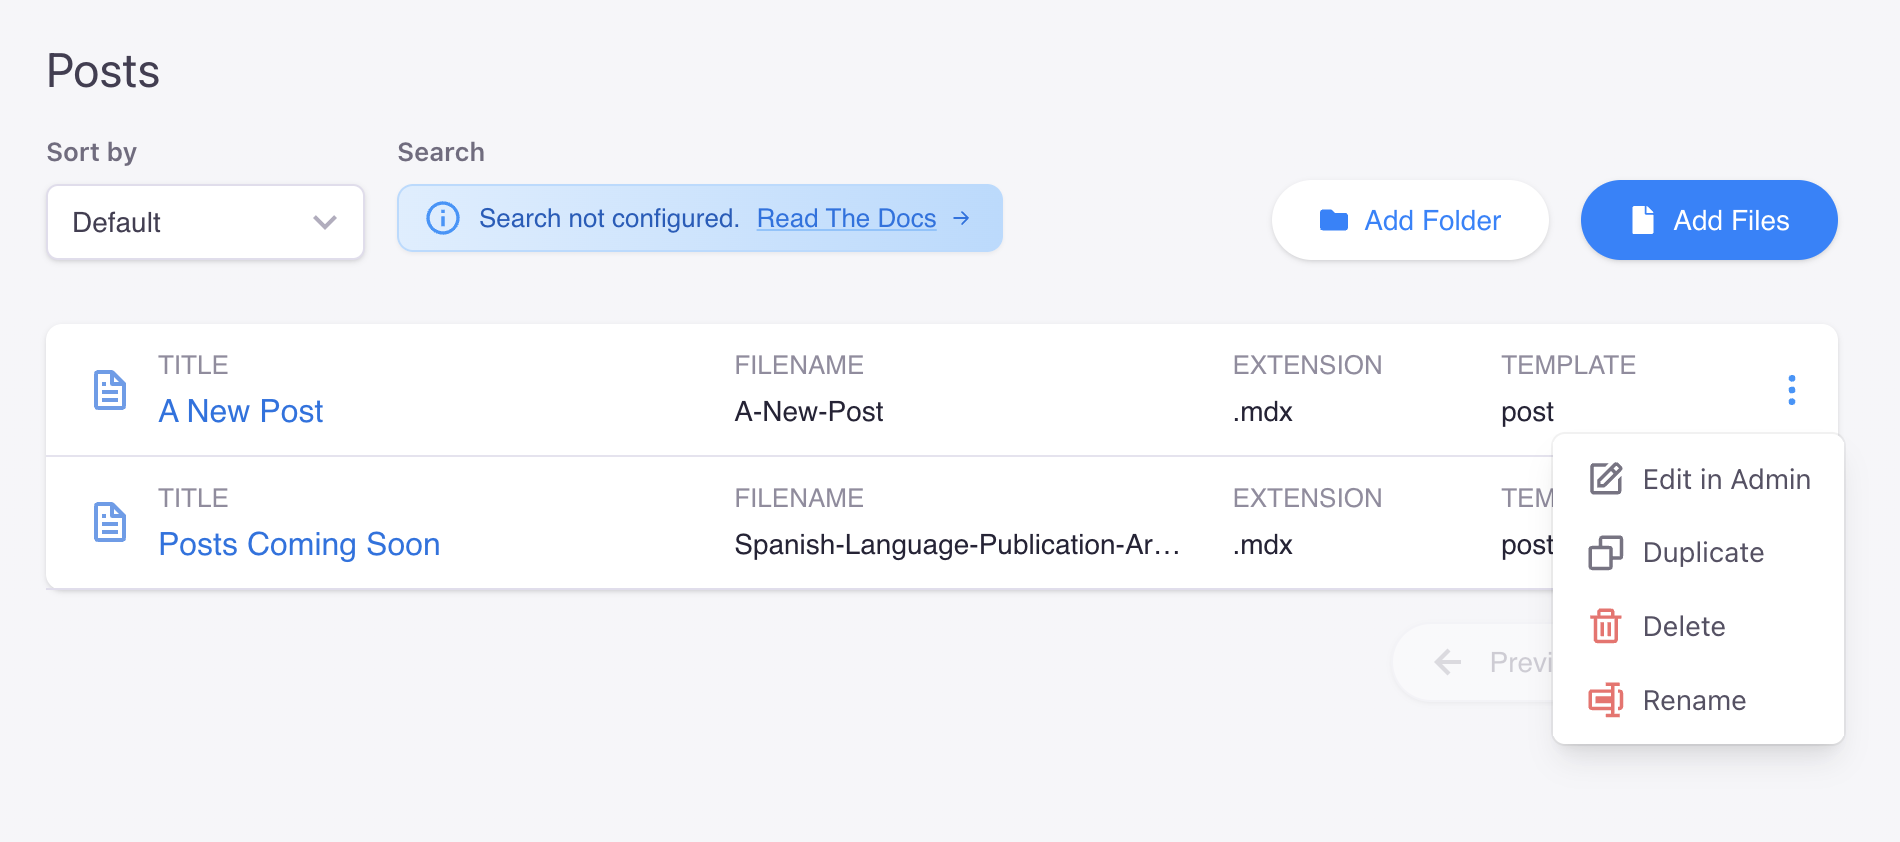
Remember to save your changes. From the Posts dashboard, you can Edit, Duplicate, Delete, or Rename any Post.