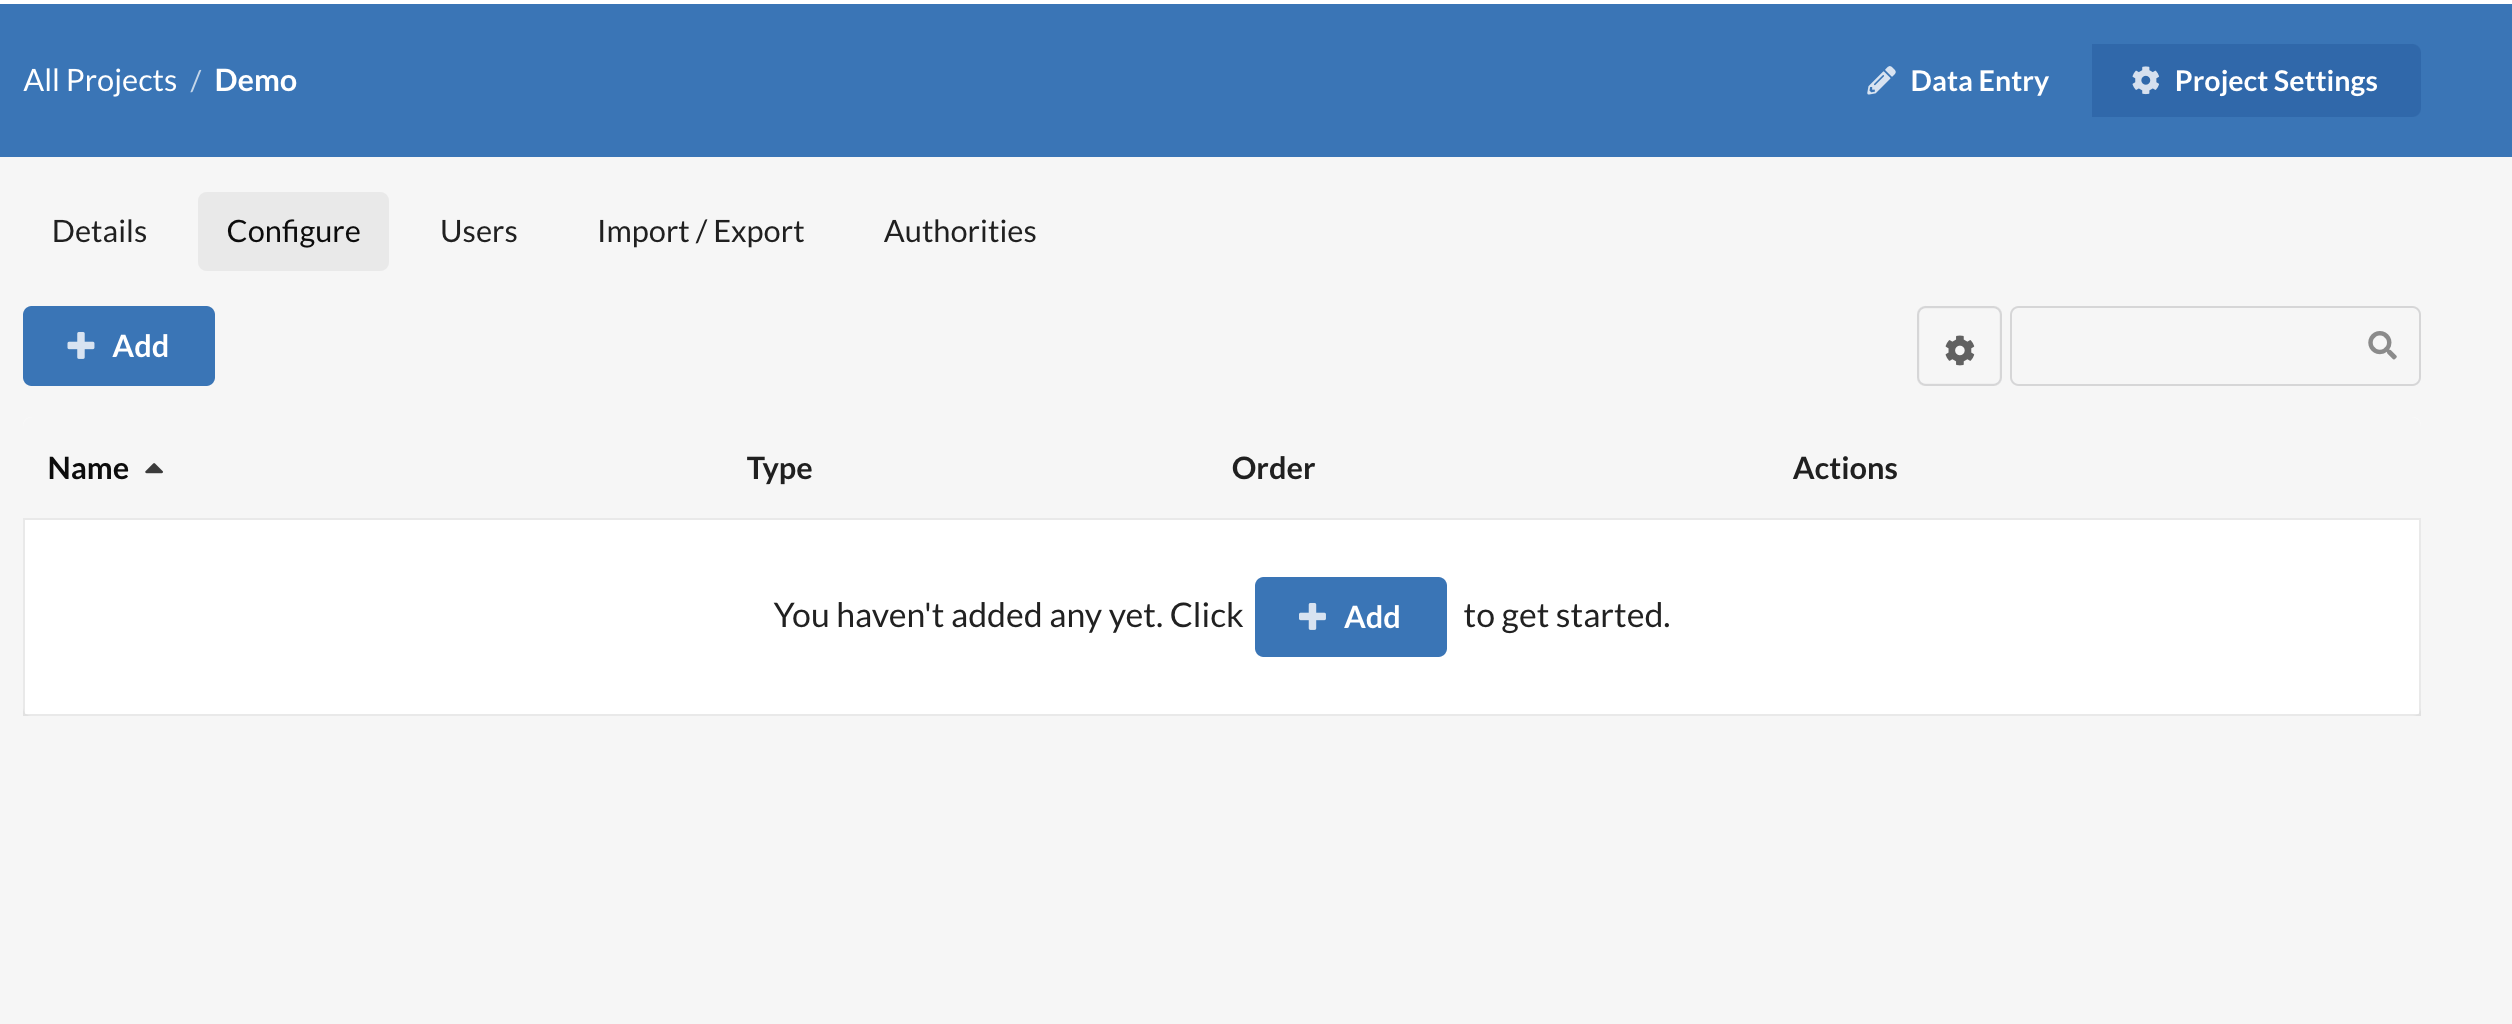
First, make sure that you are in Project Settings (top right on the blue bar). Click on the Configure tab and then click “+Add.”
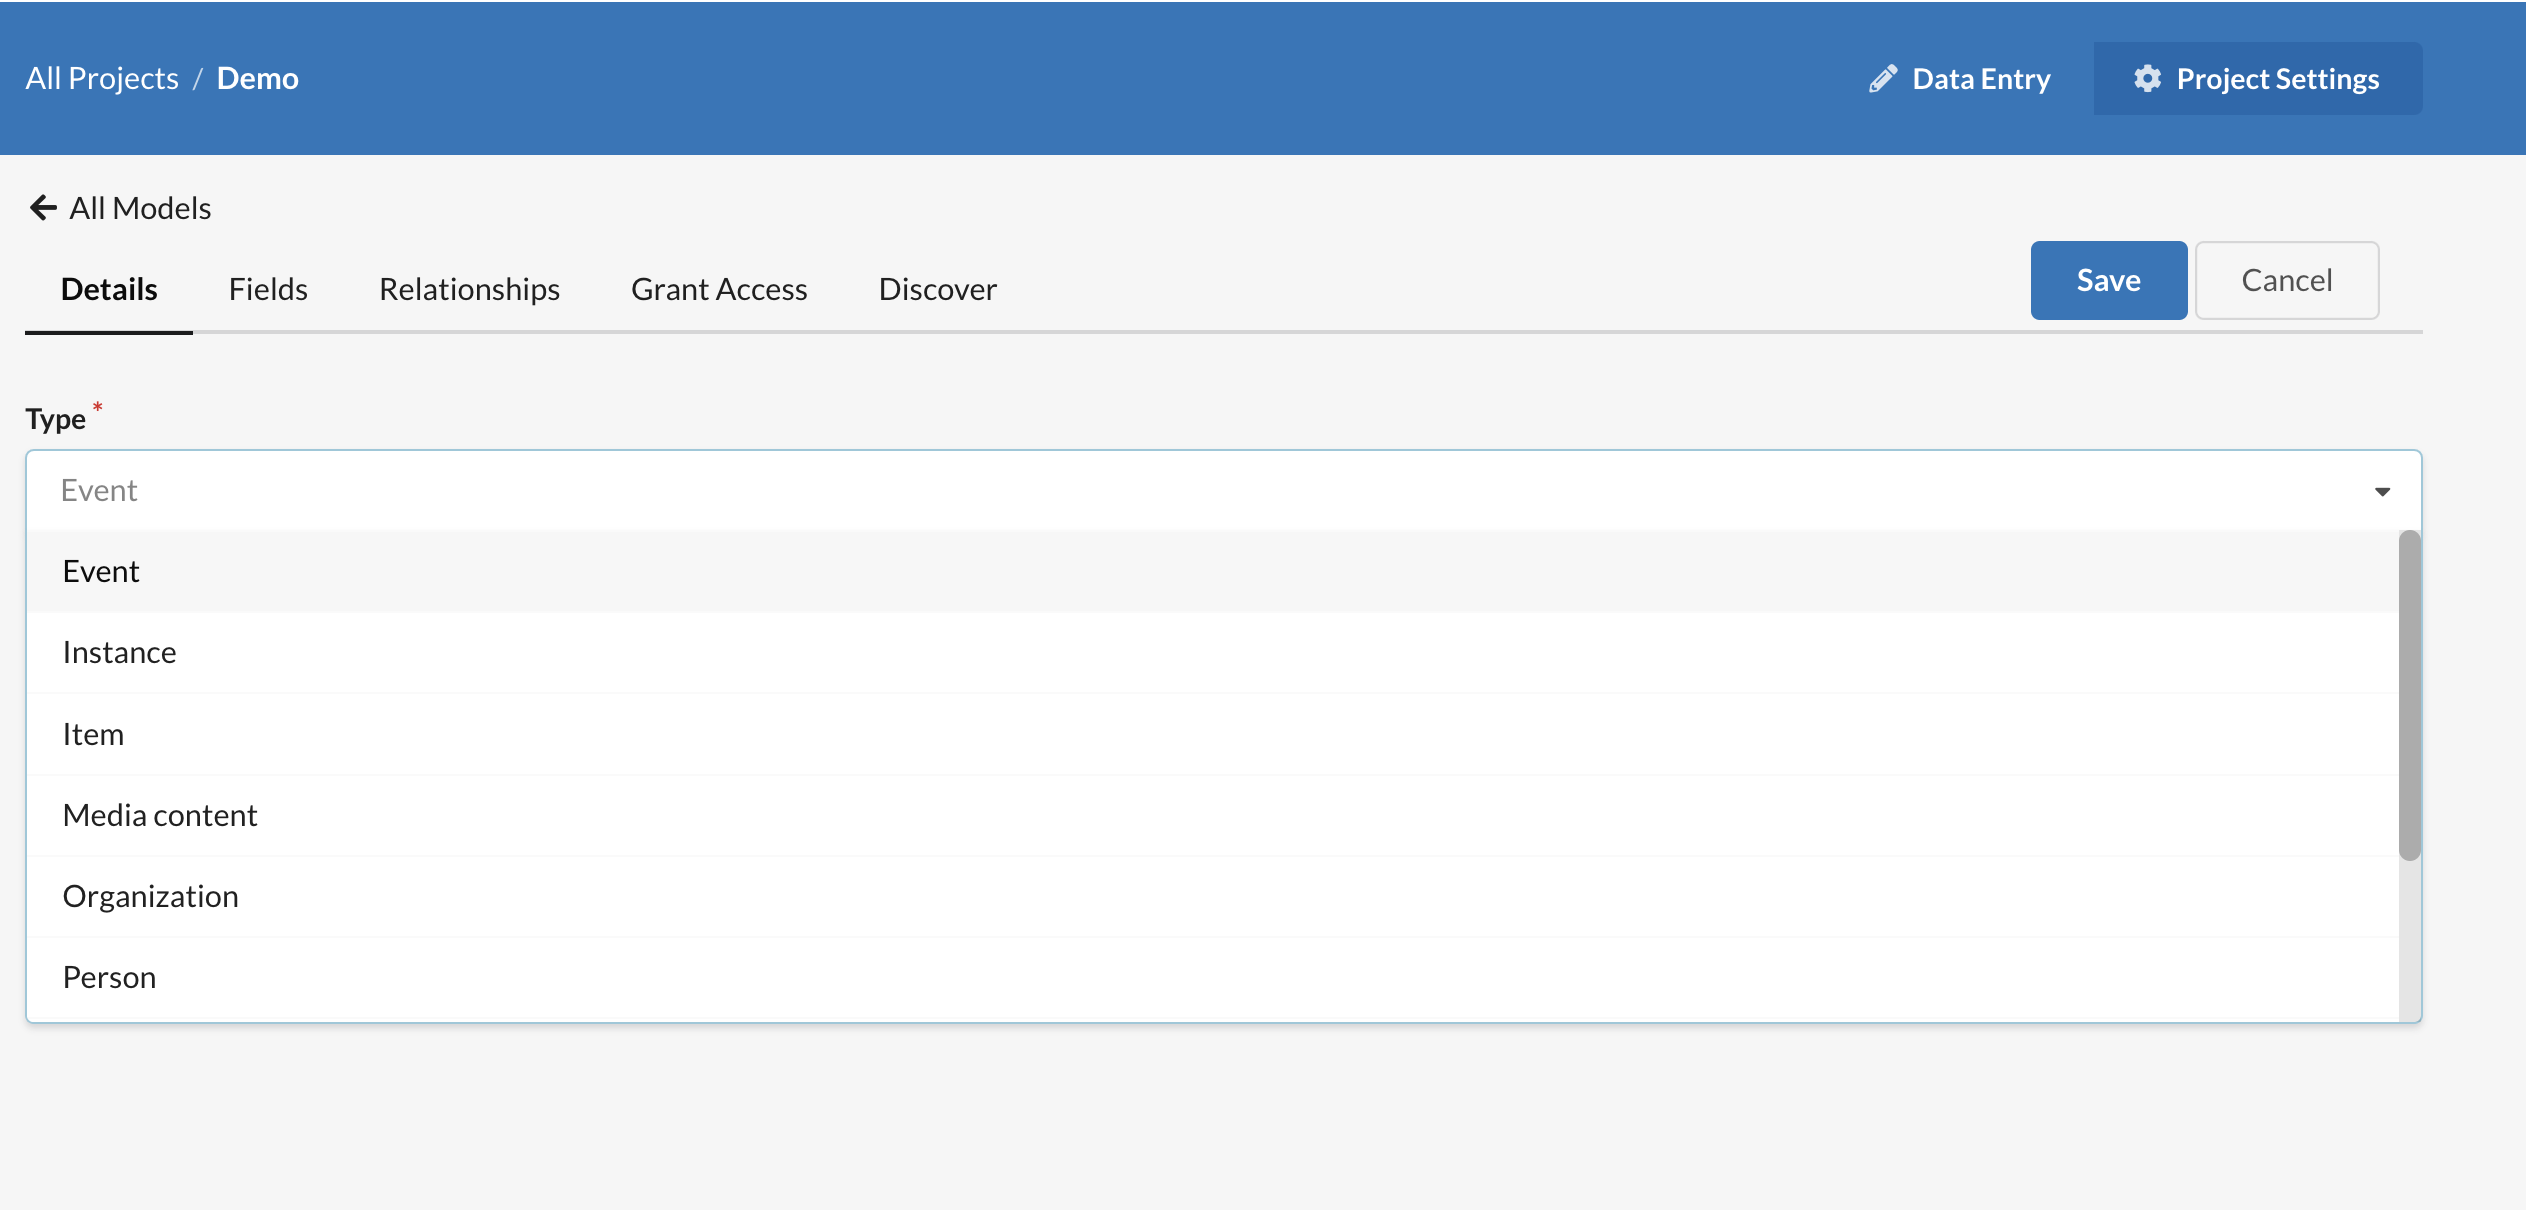
From here, you’ll select a model Type. There are several options available, which are described in a separate post.
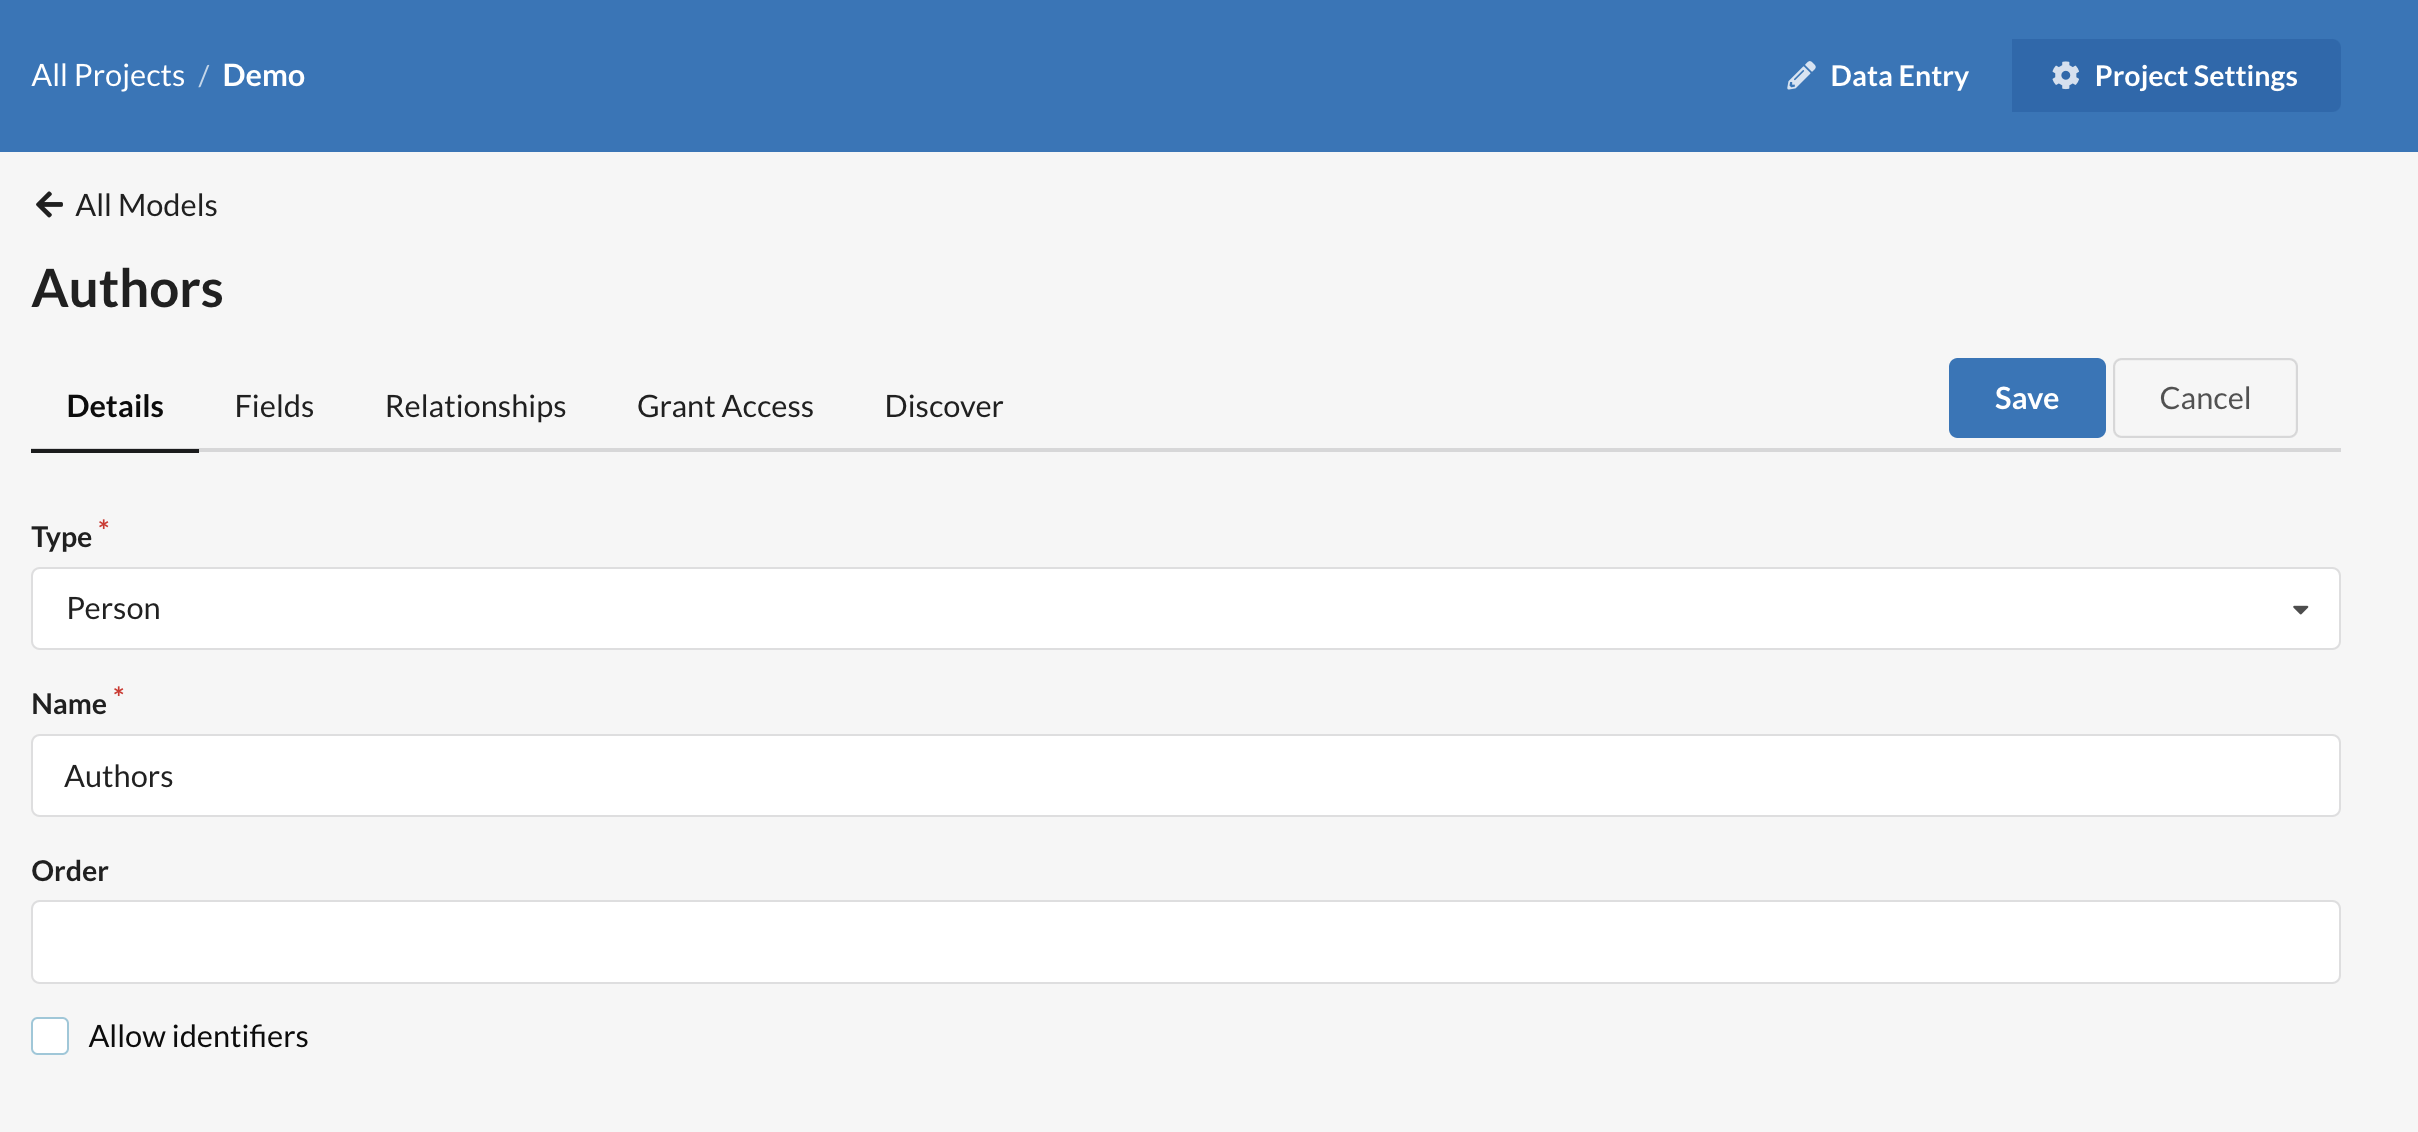
You are required to name your model. The name should be descriptive but not overly specific: for example, you might name your “Organization” model something like “Publishers” or “Non-profits.” It is possible to have multiple models of the same type, so the model name should let you differentiate one model from another.
Part of determining whether you want one model of a type or multiple models of the same type is determining what information you would like to record and how much is shared. For example, in some data models, having a single Person Type is sufficient. You may want to document the same set of information about every Person and think about “Person” as a one set of data that can be related to other models. In a different project, you may want to record different types of information by type of person, in which case you would create multiple Person models and, potentially, create relationships between them. For example, you may want Publishers, Authors, and Agents as separate Person models with different data in each model. You could then create relationships between Publishers, Authors, and Agents.
You are not required to fill the Order field. By default, models are ordered as they are created. If you would like to set the order they appear in the data entry dropdown menu, you can enter a number into the Order field. We recommend using multiples of ten (10, 20, 30, etc.) so that it’s easy to reorder as needed without having to update all order fields in a project. In other words, if you set three models as 10, 20, and 30 and decide that you want “30” to come second, you can set it to 15 without changing the other numbers.